With the free Pixel Caffeine WordPress plugin you can easily integrate your Facebook pixel, track dynamic Facebook Ads with WooCommerce and create and manage a product catalog (categories) for your store.
To use the plugin in conjunction with our Borlabs Cookie plugin, it is necessary to set it up using our script blocker.
Step 1: Add Script Blocker
Click on "Script Blocker" in the menu bar of the backend and then on the "Add new" button.

Set page, search phrase and scan
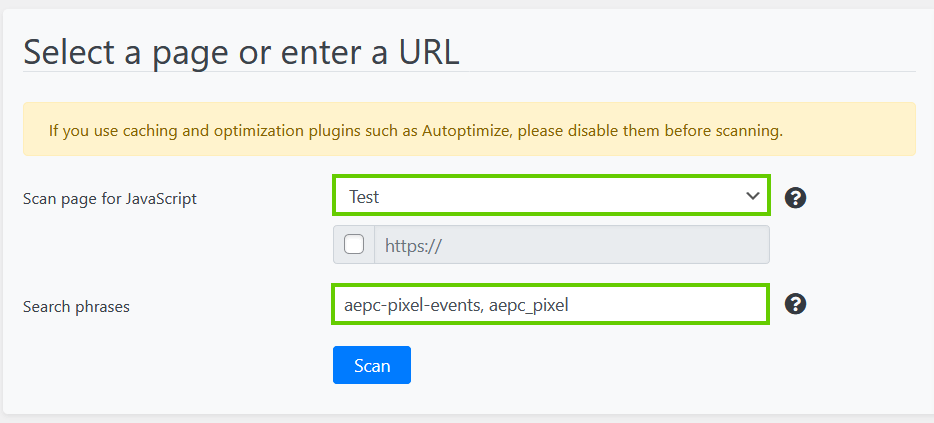
In the next step you have to select the page that should be scanned for JavaScript. Since Pixel Caffeine is usually active on all pages, you can select any page. In our case we have selected the Test page.
To make it easier for the Script Blocker to search for the script and to achieve the most accurate search result, enter the word "aepc-pixel-events, aepc_pixel" in the "Search phrases" field.
Then click the "Scan" button.
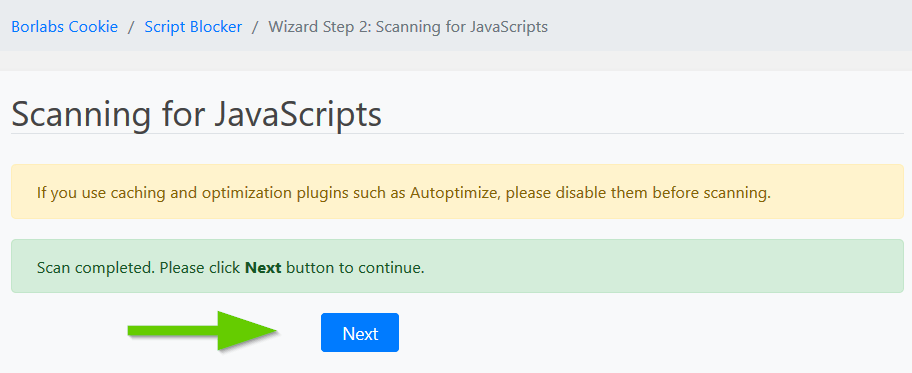
Once the scan is completed, click the "Next" button.
Configure the Script Blocker
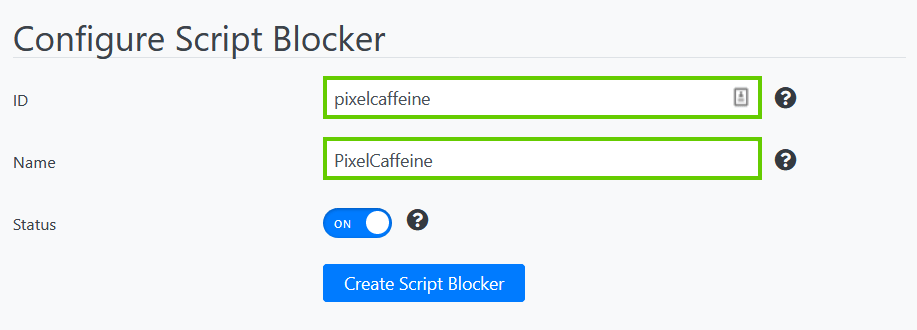
Once the scan of the page is complete and you have clicked on the "Next" button, you must now enter an ID and a name for your Script Blocker in the following overview.
Simply enter the following data and set the status to ON.
Name: Pixel Caffeine
ID: pixelcaffeine
Choose JavaScript to block
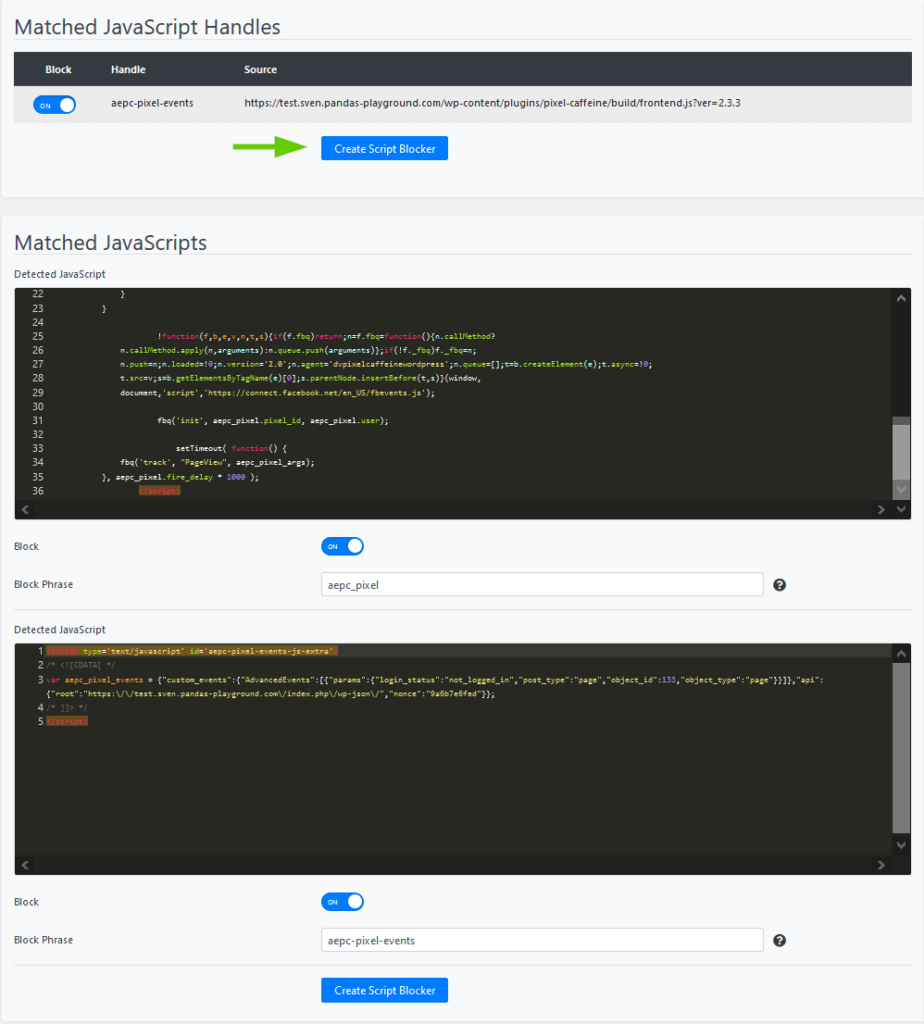
If you now scroll down a bit, you should directly see the appropriate JavaScript or scripts. Usually only one JavaScript is displayed for Pixel Caffeine.
Click here under "Block" on ON and then click the button "Create Script Blocker". Also make sure that the switch under "Matching JavaScripts" is set to ON.
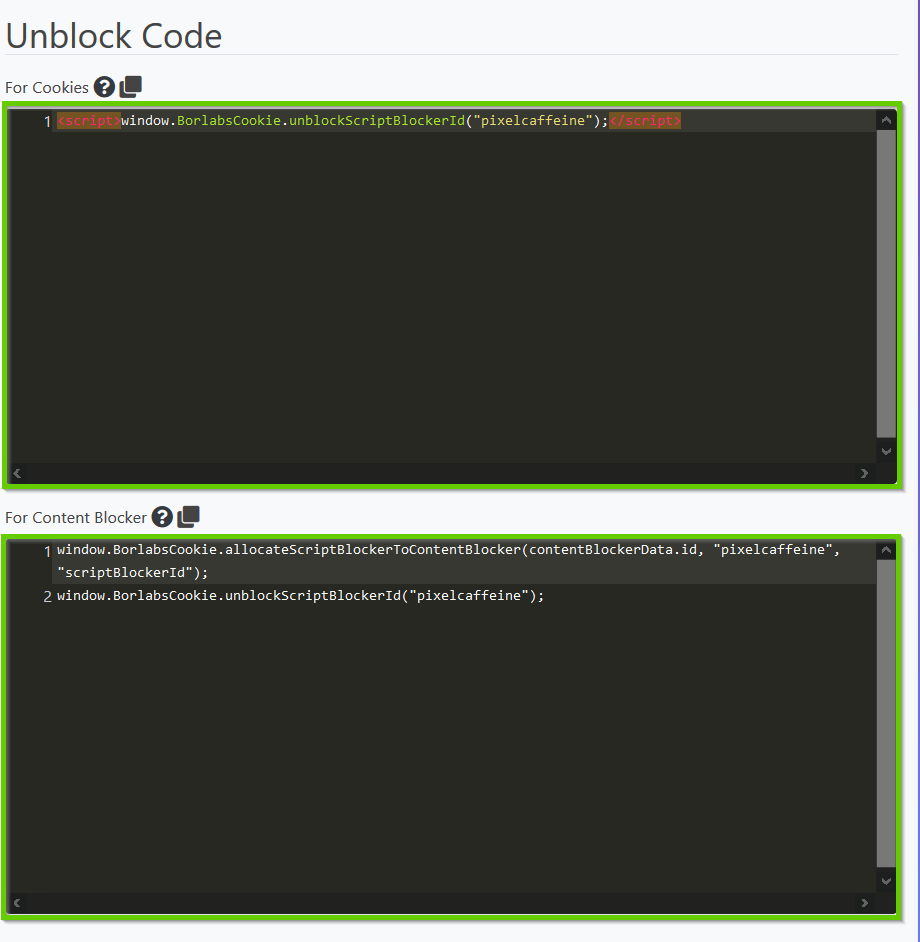
You will then receive an unlock code for both the Cookie and the Content Blocker.
Step 2: Create Cookie
In the second and last step you have to create a Cookie. To do this, click on Cookies → "Add new" under the Cookie Group "Marketing" in the Borlabs Cookie Backend.
Under Service, select "Facebook Pixel" and click on the "Next" button.
In the field "Pixel ID" you can enter anything (e.g. notnecessary), because in our case we don't have to store a pixel ID.

Under Opt-in Code, paste the code (remove the existing code first) that you just copied from the "For Cookies" field in Script Blocker.
<script>
window.BorlabsCookie.unblockScriptBlockerId("pixelcaffeine");
</script>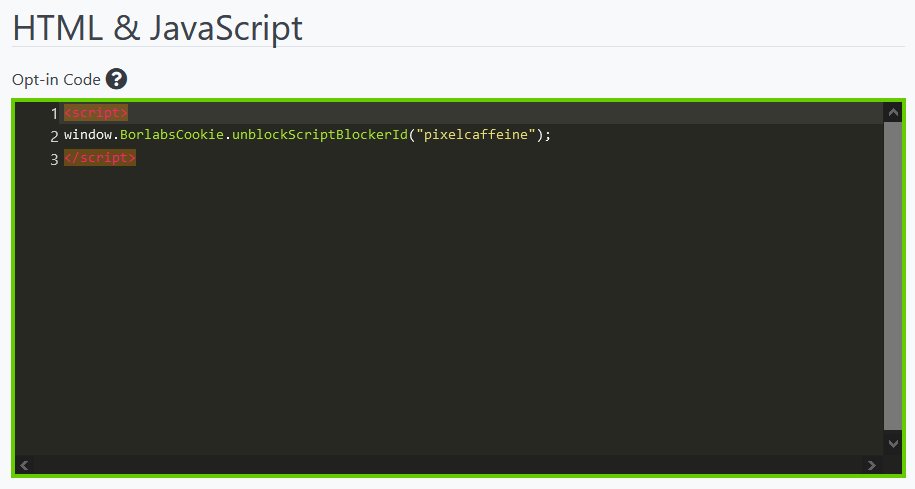
In the Fallback Code field, paste the following code:
<div class="aepc-pixel-events-placeholder"></div>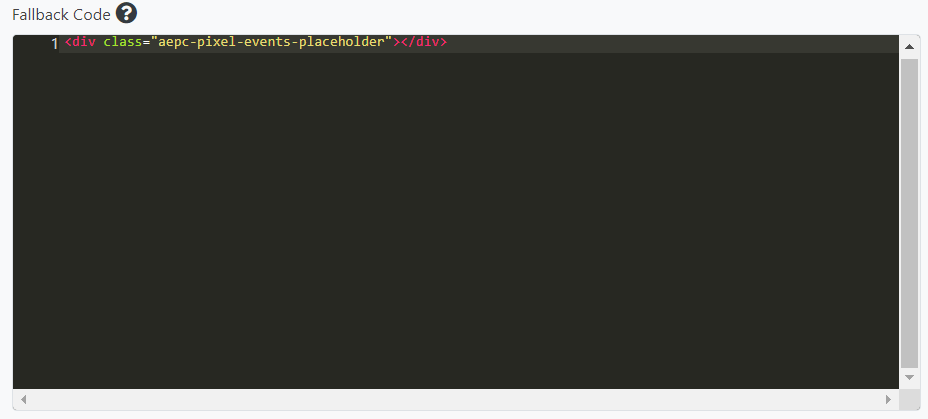
Now click the "Save all settings" button to complete the setup.
Step 3: “Pixel init Snippet” in PixelCaffeine
In the Pixel Caffeine plugin click on the tab "General Settings".

Scroll down to "Advanced Settings" and activate the function "Do not add the Pixel init snippet" under "Tracking tools".
