In this article, we'll give you some useful tips on how to properly test your website and in case of a problem, solve the problem yourself or pass it on to the right developer. We use the Google Chrome browser for this, but Firefox has a similar procedure. If you can't follow the steps in this article in Firefox, please download Google Chrome.
Disable browser caching
One of the most common causes of display or functional errors are obsolete files in the browser cache. To prevent you from seeing something from your browser cache when testing, disable the cache as long as the browser's developer tools are open. Our instructions apply to the Google Chrome Browser. Proceed as follows:
Open Developer Tools
macOS Shortcut
Chrome: ⎇ + ⌘ + I
Firefox: ⎇ + ⌘ + I
Windows Shortcut
Chrome: CTRL + ⇧ + I
Firefox: CTRL + ⇧ + I
Deactivate Caching
After the developer tools are open, click, as shown in the video, on the 3 points at the top right and select the Settings. Alternatively, you can press the F1 key.
In the settings scroll down a bit until you see Network and enable the option Disable cache (while DevTools is open). Then click on the small x in the upper right corner to close the settings, but leave the developer tools open. With these settings, your browser will no longer use the cache as long as the developer tools are open. This will prevent you from viewing outdated information or loading outdated files. The cache remains disabled only in the open developer tools tab. If you close the developer tools, your browser will load data from its cache again.
Check website for JavaScript errors
Before you install and activate a new plugin, always make sure that your website is free of errors. It is not uncommon for problems to occur with new plugins due to existing bugs on the website. The problem is not caused by the new plugin and a solution has to be found for the already existing problems. Therefore we check the website for JavaScript errors.
In the developer tools, click on the Console tab and check if you see messages in red. Yellow messages can be ignored for the time being, but red messages are usually a problem and need to be corrected. Here we show you three typical mistakes and give you tips what you can do against them. These error messages will not appear exactly like that!
Uncaught TypeError: Cannot read property - Variant A

A typical error is the Uncaught TypeError, which occurs with unclean programming. In this case, the error in the camera.js file is triggered. If you move the mouse over camera.js?ver=5.2.2:863, the path of the file will be displayed. The path tells you whether the file belongs to your theme or to a specific plugin. Take a screenshot of the error message and contact the developer of the plugin or theme to correct the error.
Uncaught TypeError: Cannot read property - Variant B

As you can see from the file name 922f580….js on the right, it doesn't seem to have a reasonable name. This is often a hint that a plugin has combined the JavaScript of your website into one file. Plugins like Autoptimize, Borlabs Cache and WP Rocket merge the JavaScript to optimize the loading time of your website. However, errors can occur here, e.g. if a JavaScript file already contained a syntax error this can have a negative effect on the rest of the code in the merged file. In such cases, first, deactivate the JavaScript merging and check whether the error disappears. If so, you cannot use the merging.
Translated with www.DeepL.com/Translator
Uncaught - ERRORS THAT OCCUR E.G. AFTER A CLICK

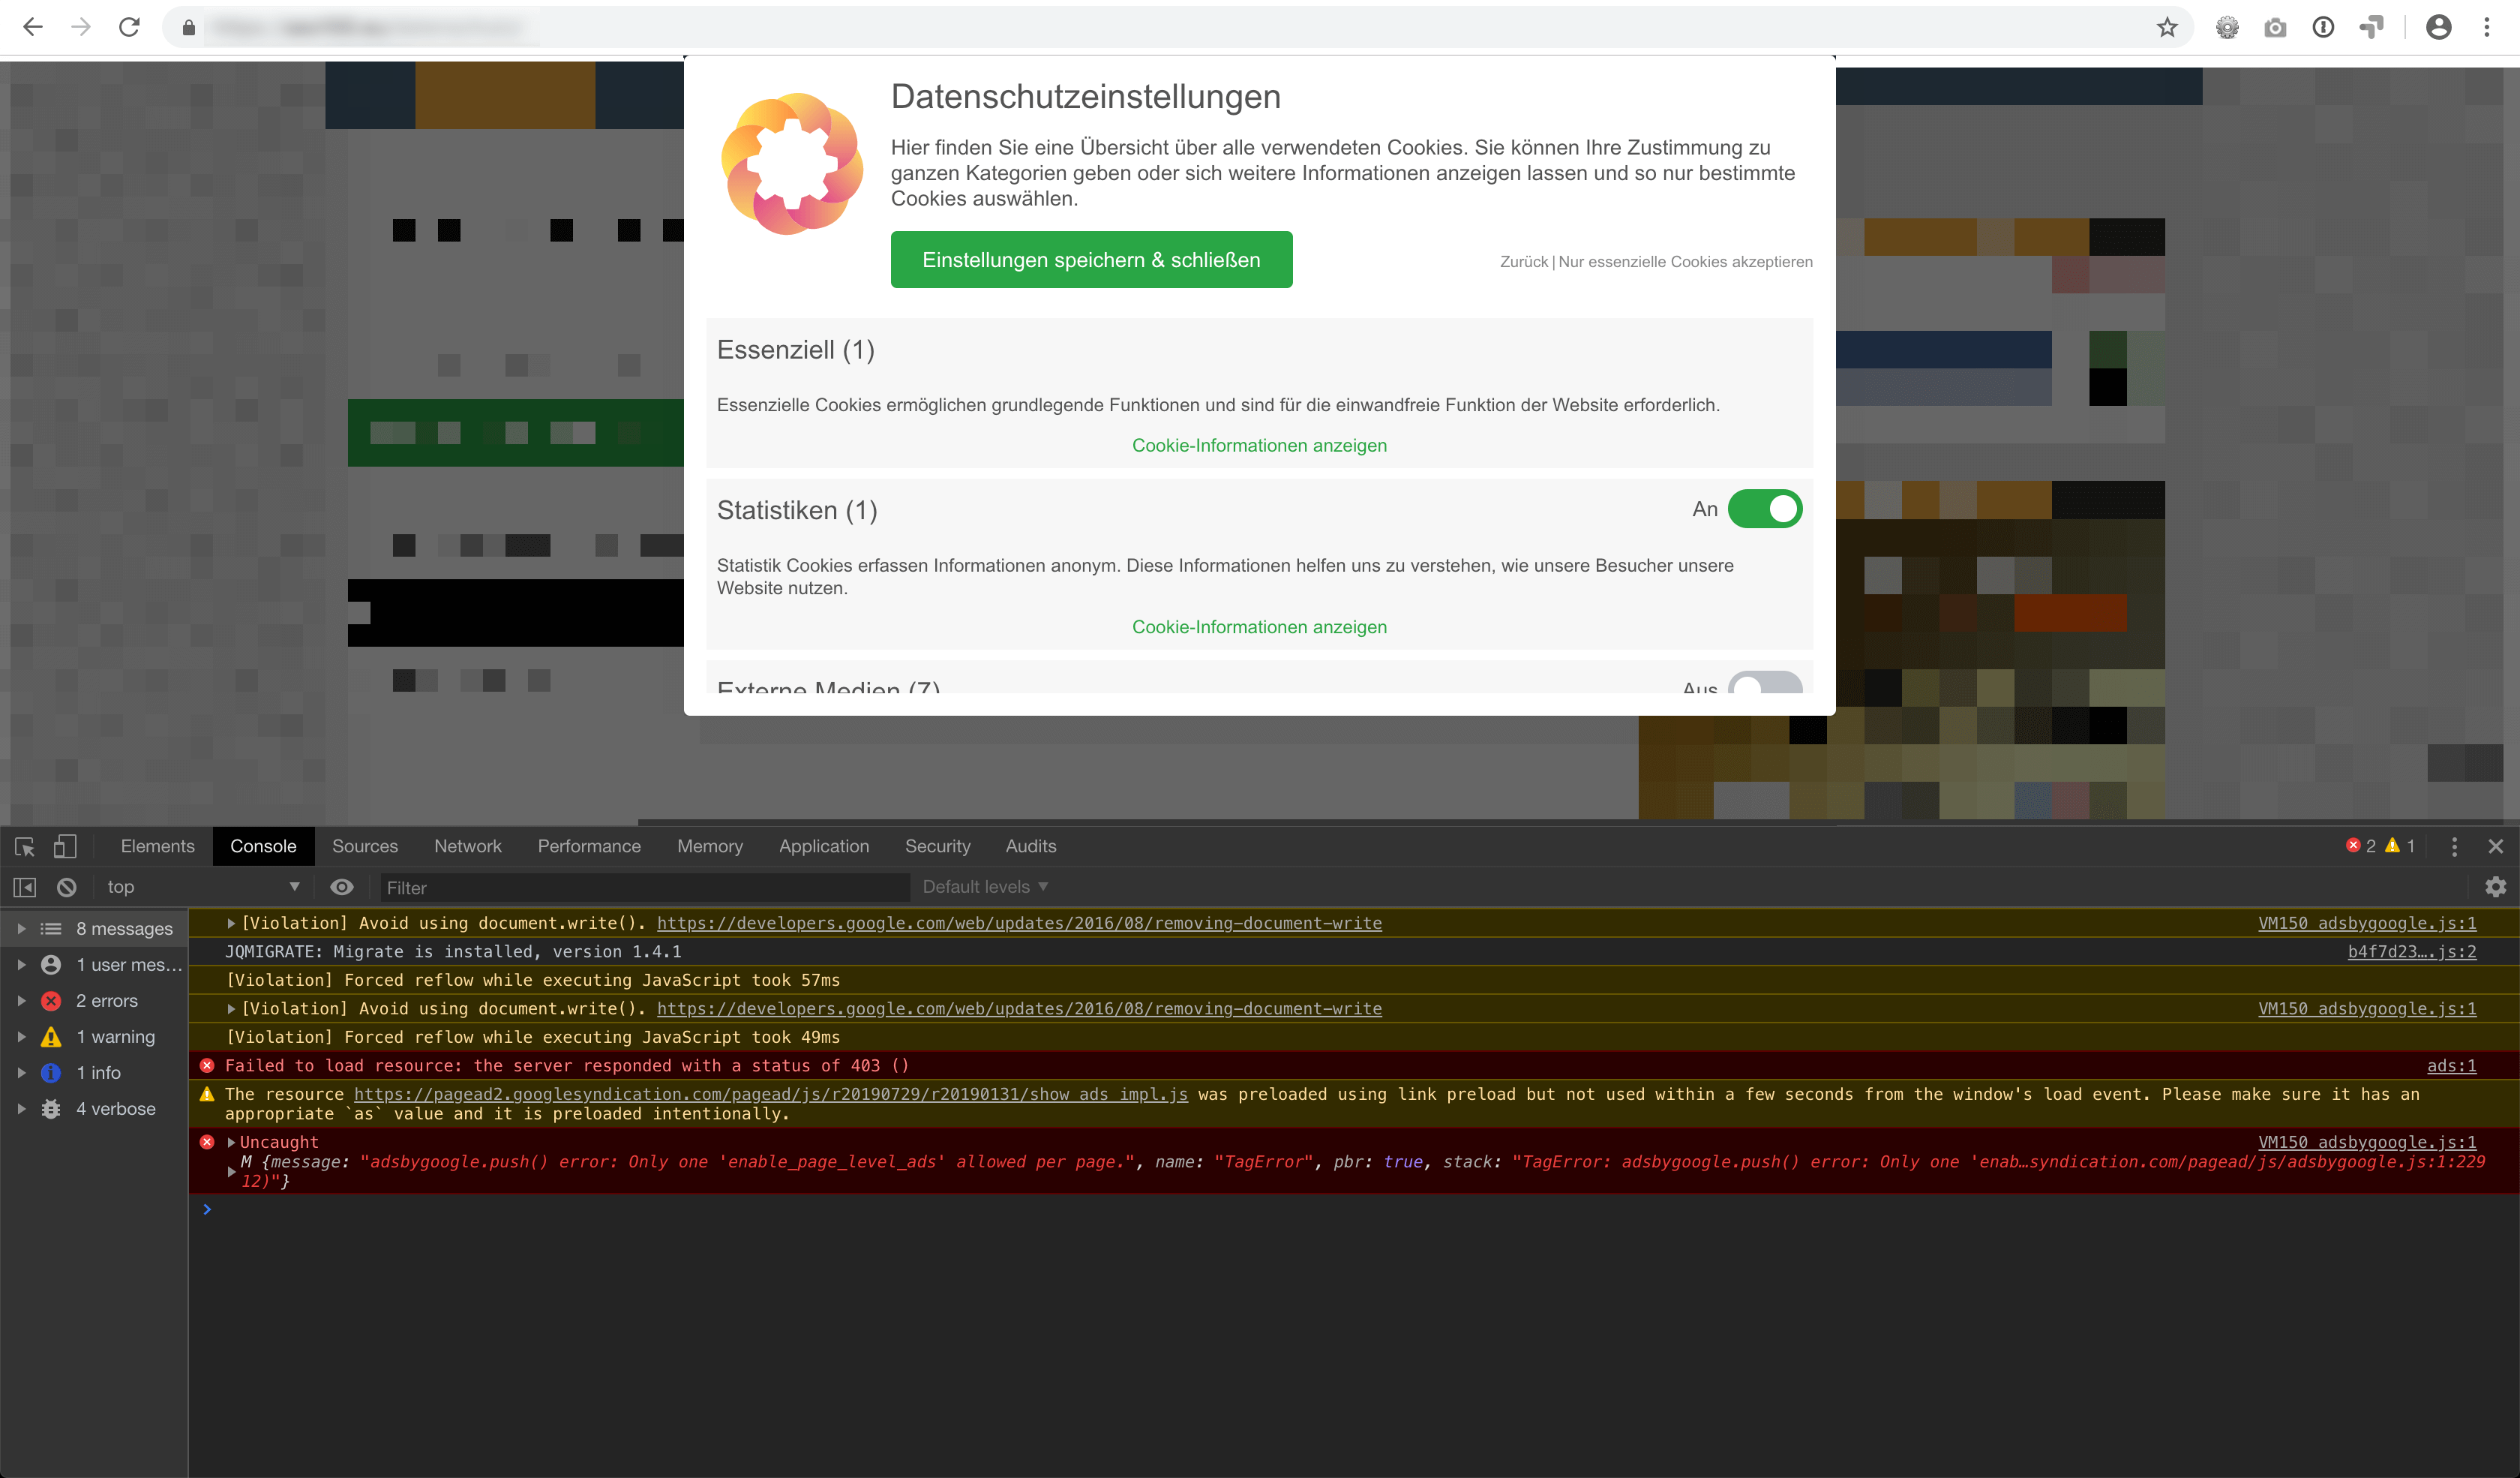
The error Uncaught M {message: "adsbygoogle.push()… often occurs in conjunction with Borlabs Cookie and Google AdSense after you have made a selection in the Cookie Box. The reason is that Google AdSense was already loaded on your website before the visitor made a selection in the Cookie Box. If they give their consent to AdSense in the Cookie Box, Google AdSense will be integrated again and an error message will appear. You can easily solve the problem by removing the Google AdSense integration from your website, as it can only be loaded by Borlabs Cookie.
Other common errors
Failed to load resource: the server responded with status 403 ()
The error occurs when an attempt has been made to load a file for which no access authorization exists. Move the mouse over the file name and display the source of the file. You can use the URL or path to the file to draw conclusions about which plugin or service causes the error.
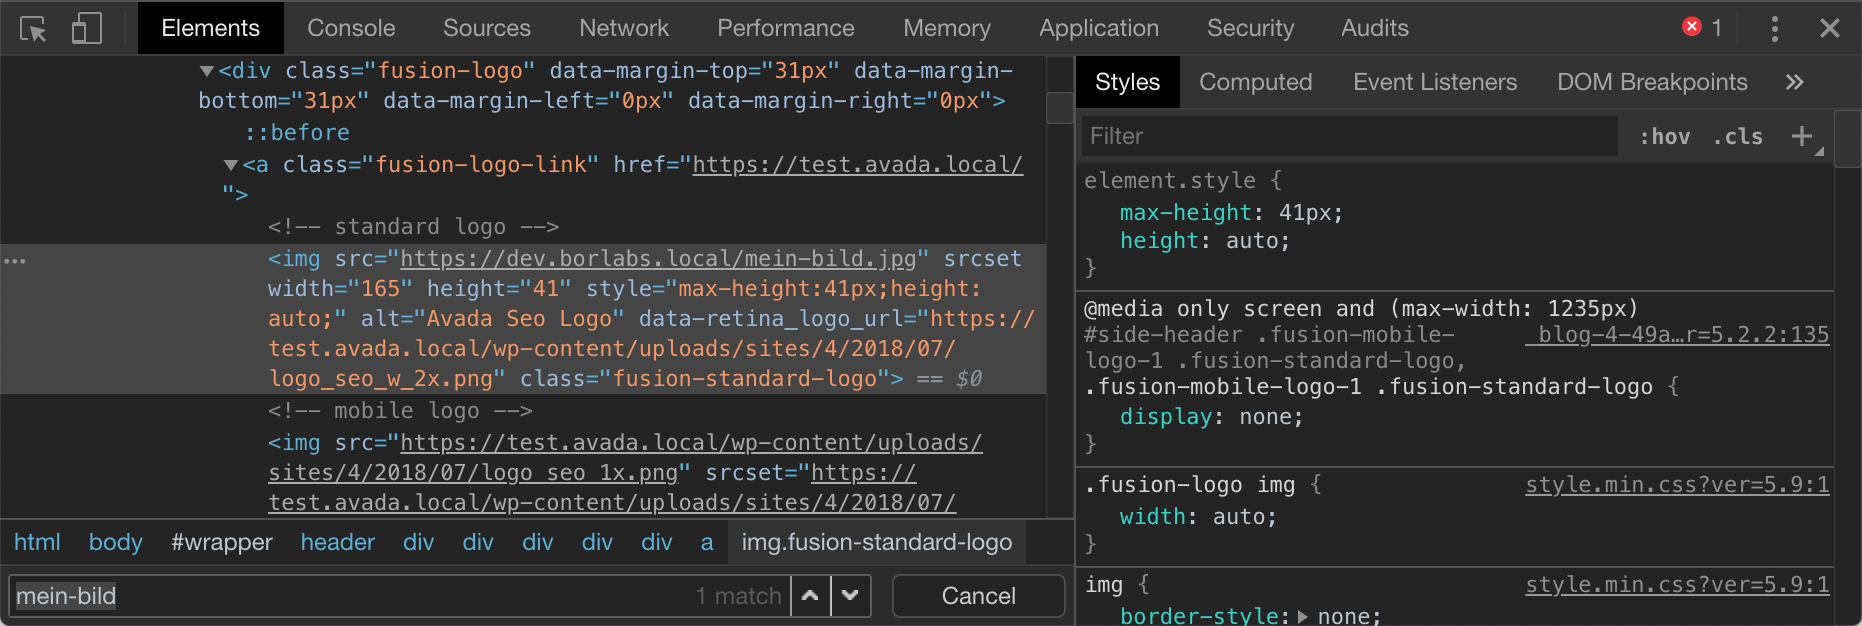
GET https://meine-website.de/mein-bild.jpg 404 (Not Found)

A 404 error occurs whenever a file could not be found under a URL. In the console, you can already see the URL and now you only have to find the place on your website that causes the call.
One way to find this location is to click Elements in the developer tools, press ⌘ + F under macOS or CTRL + F under Windows, and search for the file name in the search below, as shown in the following image.

Limiting the source of an error
It can happen that a plugin causes problems only in combination with other plugins. The error does not necessarily originate from the plugin with the problem - often conflicts arise due to other plugins that do not adhere to the WordPress Codex. In order to find the cause, you must proceed as follows:
- Deactivate all plugins
- Activate the plugin that does not work correctly
- If the plugin works now, go to step 3
- If the plugin doesn't work, contact the plugin developer
- Activate the next plugin and repeat this step until the error occurs again.
If you are unable to perform these steps on your live website, we recommend that you install the WP Staging plugin. With this plugin, you can create a copy of your website in a subfolder and run the tests there. The plugin is free and setup is child's play. Your live website remains untouched and you can run tests in the created staging environment without the risk of something breaking on your live website.