Introduction
Google's "Consent Mode" is a new method of locking tags in Google Tag Manager so that they are not fully integrated until the user gives their consent.
This guide describes how to use the "Consent Mode" with the Google Tag Manager and Borlabs Cookie. This guide can only be used if Google Tag Manager is used. Consent Mode can be used for Google Analytics and Google Ads without using Google Tag Manager.
The big difference to the approach so far (guide here) is that previously we had to block individual services (such as Google Analytics, Google Ads, Facebook, …). With the "Consent Mode" we can only block by consent type (e.g. tracking or advertising).
The Google "Consent Mode" currently offers the following consents:
| ad_storage | Enables the storage of advertising-related data such as cookies |
| analytics_storage | Enables the storage of analysis-related data such as cookies, e.g. on the duration of visits |
| functionality_storage | Allows you to save data that supports the function of the website or app, e.g. the language settings |
| personalization_storage | Allows data related to personalization to be stored, e.g. video recommendations |
| security_storage | Enables storage of security-related data, e.g. for authentication functions, fraud prevention, and other user protection mechanisms |
In the guide we will briefly introduce the new cookie template for the Google Tag Manager with "Consent Mode" and create a cookie for each of these consent types. We will then explain which tags already support "Consent Mode" and how tags that do not support "Consent Mode" can be blocked.
Create cookies
First, for each Consent (see table) that is to be used, a cookie must be created using the "Google Tag Manager - Consent" template.
Create a new cookie with the template "Google Tag Manager - Consent". Then select the Consent of your choice under "Consent Mode".
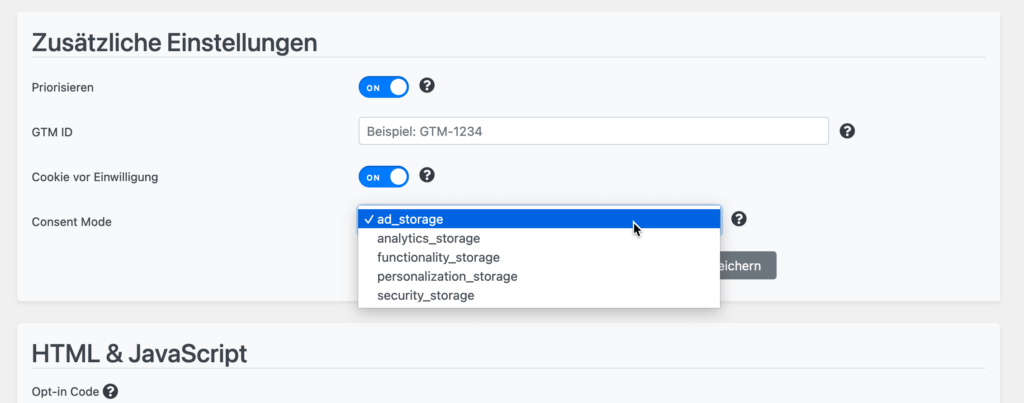
If you enable "Cookie before Consent", the Google Tag Manager will be included even without Consent, but with all Google Tag Manager consents set to "denied". To take full advantage of the "Consent Mode", it is recommended to enable this option.
Give this cookie a meaningful name that fits the currently selected content type. For example, for "ad_storage" this could be "Advertising".
Repeat the process for all the consents you want to use. If in doubt, it doesn't hurt to create a cookie for all consents, so you don't have to make many adjustments in the future.
Tags with built-in Consent Check
Tags like Google Analytics or Google Ads already support the "Consent Mode" natively. This means that nothing else needs to be done for these tags.
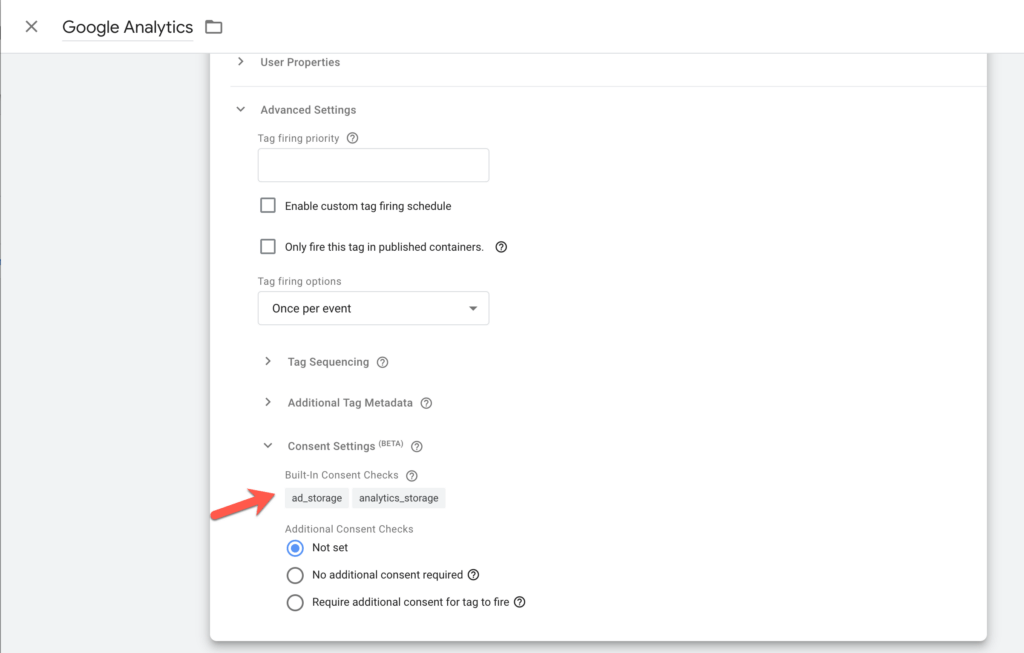
To see which consent checks the tag natively takes into account, click the tag, click Advanced Settings, and then click Consent Settings. Under Built-In Consent Checks, you'll see a list of the consent checks that are supported.
Lock tags with additional Consent Check
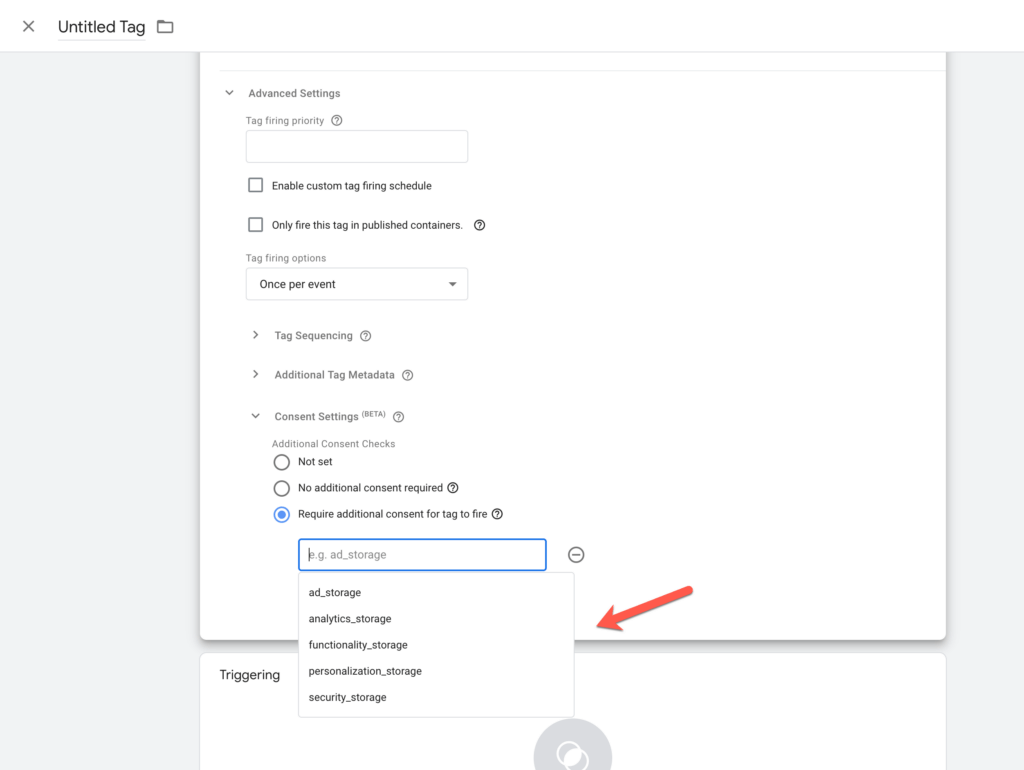
For tags that do not or not yet support the "Consent Mode", you can add a manual check. To do this, go back to Advanced Settings and then to Consent Settings. Here, under Require additional consent for tag to fire, you can select consent checks that are required for the tag to be played.
Tags with page view trigger
For tags that are triggered by a page call trigger, there is now the problem that the OptIn code is executed shortly after the page call trigger. Thus, such tags are never unlocked.
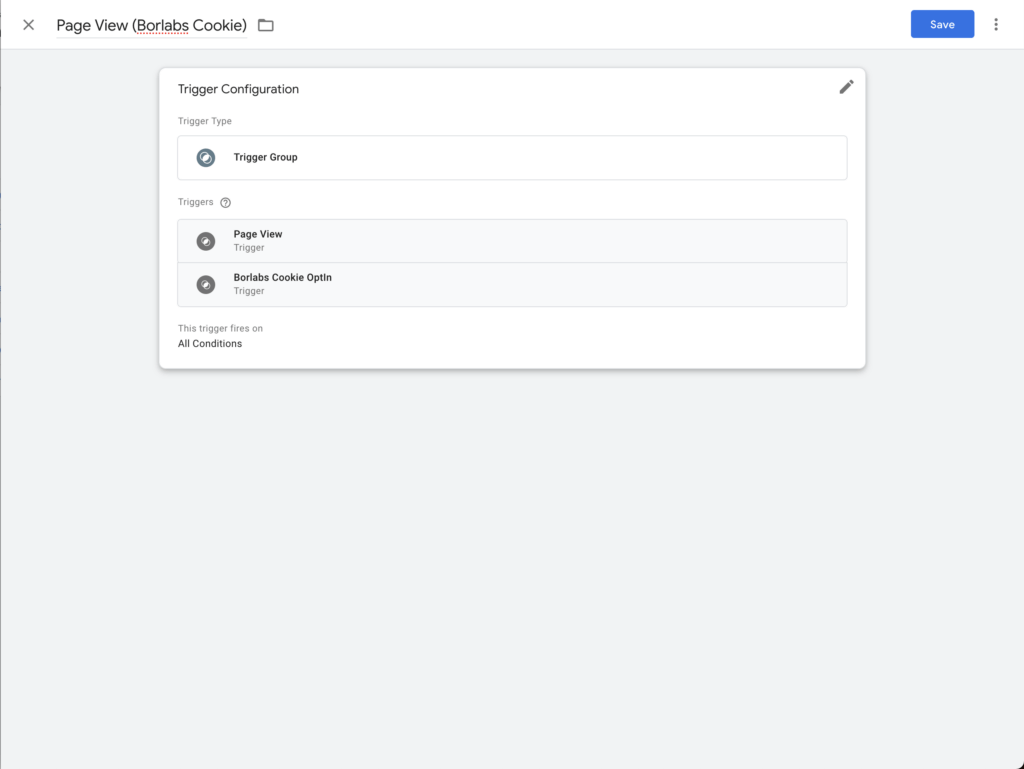
To prevent this, a trigger group must be used instead of the page call trigger. The trigger group only needs to be created once and can then always be used instead of the page call trigger.
The trigger group consists of a page call trigger and a "Custom Event" trigger.
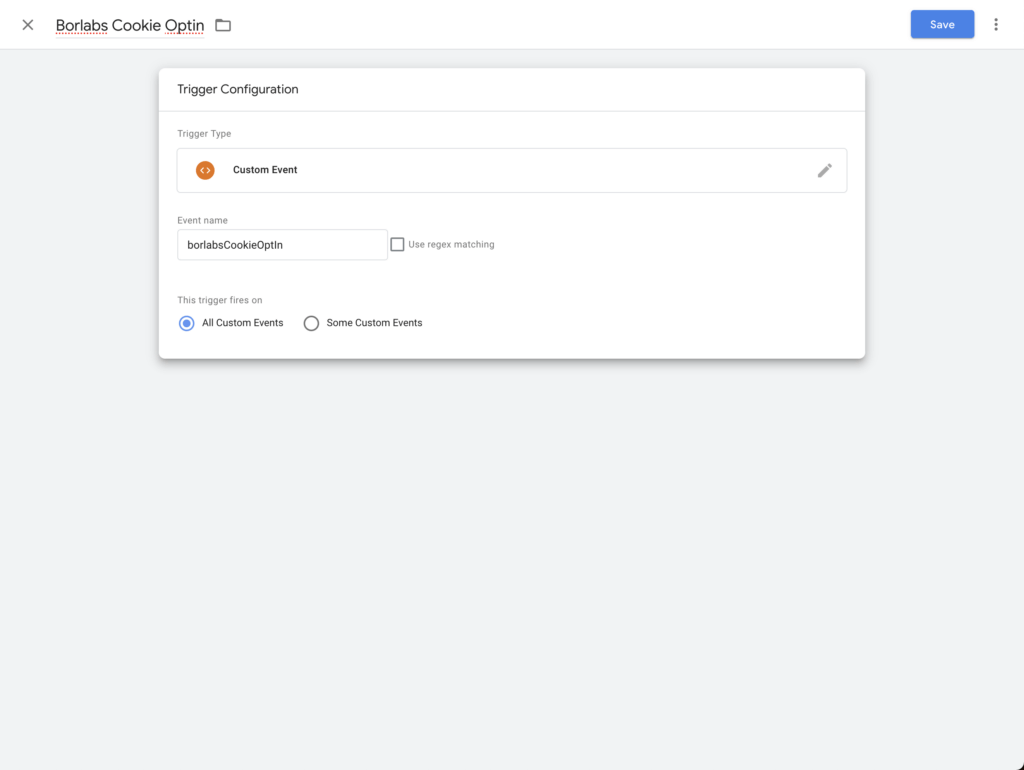
First we create the "Custom Event" trigger, which we name "Borlabs Cookie Optin". In the Event Name field we write "borlabsCookieOptIn".
Next, we create a trigger group named "Page View (Borlabs Cookie)", which contains the page view trigger and the "Borlabs Cookie Optin" trigger we just created.
