Preface: For this article it is required that a valid ReCaptcha v3 account has been deposited.
Step 1 - Create Script Blocker
For Ninja Forms, a Script Blocker must first be created for the form plugin itself and, in the next step, for the reCAPTCHA.
Script Blocker #1:
Click the "Add New" button in the "Script Blocker" menu.

Set page and search phrase
In the following view, you have to select the page in which you have included the form. Enter "nf-front-end, nf-front-end-deps, ninja-forms" under search phrases. Then click on the "Scan" button.
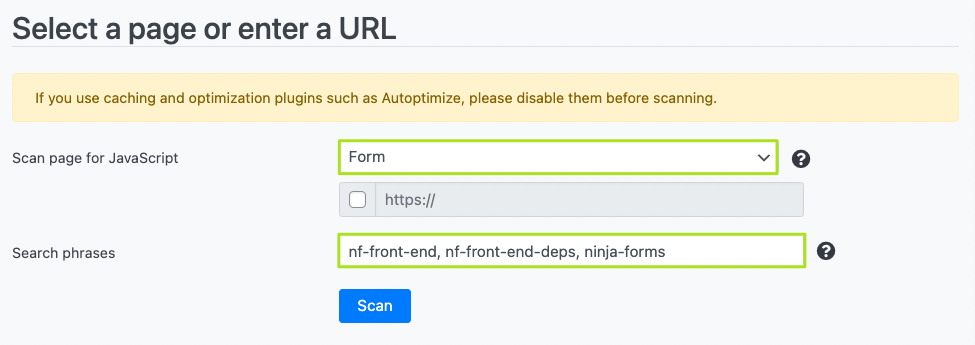
After the scan is finished, click the "Next" button.

Configure Script Blocker and block JavaScript handles
Now you have to configure the Script Blocker. Enter "ninjaforms" under ID and "Ninja Forms" under Name. Also set the status to "ON
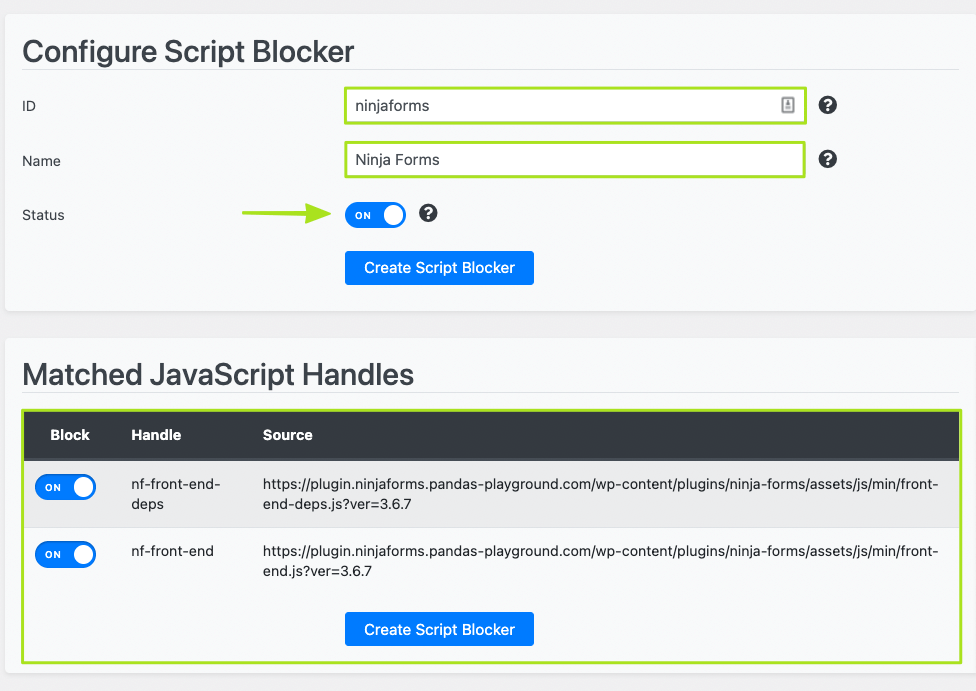
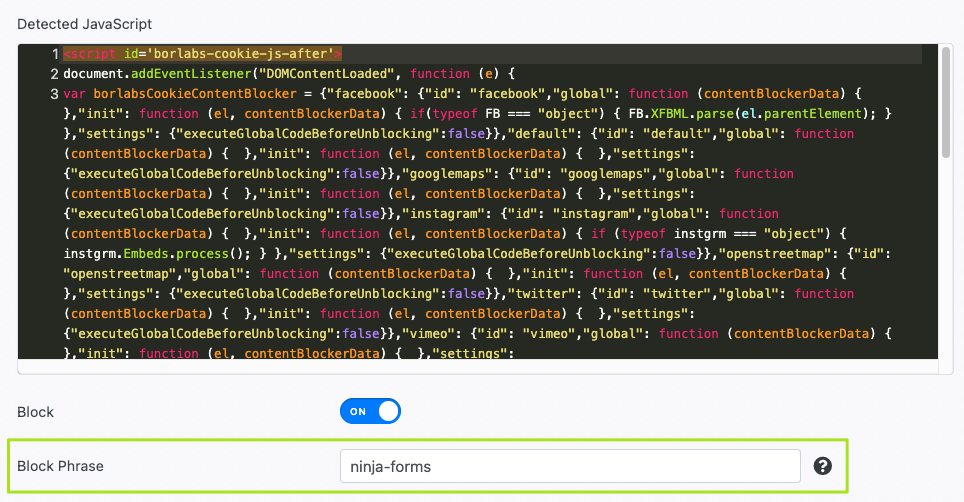
Then click on the "Create Script Blocker" button.
Copy code for Content Blocker
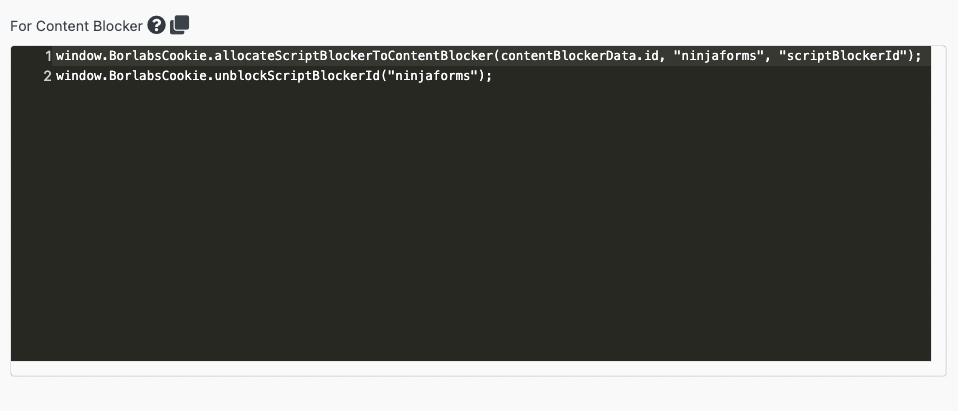
After the Script Blocker is created, you have to copy the code for the Content Blocker to the clipboard. We will need this in a moment to set up a functioning content blocker in the next step.
Script Blocker #2:
First, please repeat all the steps that we have already shown you when creating the first script blocker. However, now you have to use "nf-google-recaptcha" as the search phrase.
Configure Script Blocker and block JavaScript handles
Now you have to configure the script blocker. Enter "recaptcha" under ID and "reCAPTCHA" under Name. Also, set the status to "ON".
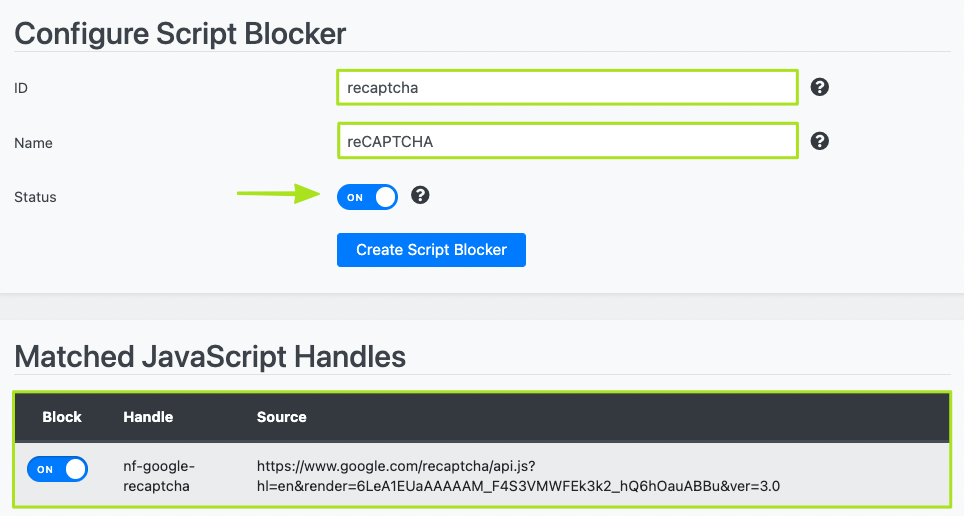
Then click on the "Create Script Blocker" button.
Copy code for Content Blocker
After you have created both Script Blockers, we need the codes for the Content Blocker, which you have copied before.
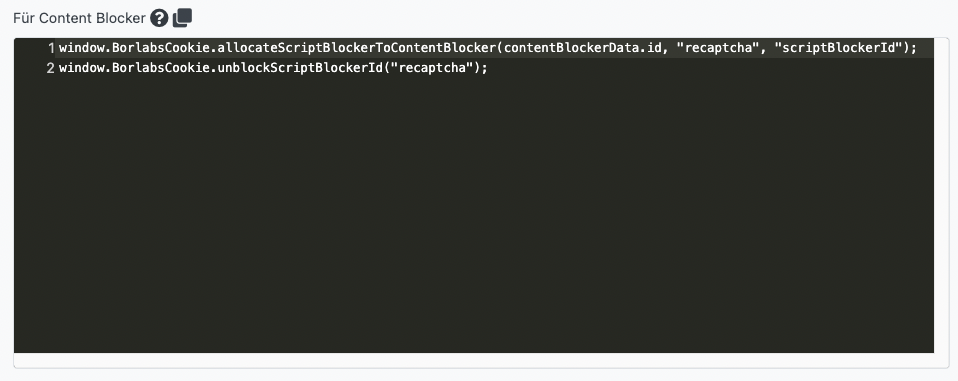
If not, you will find them again below:
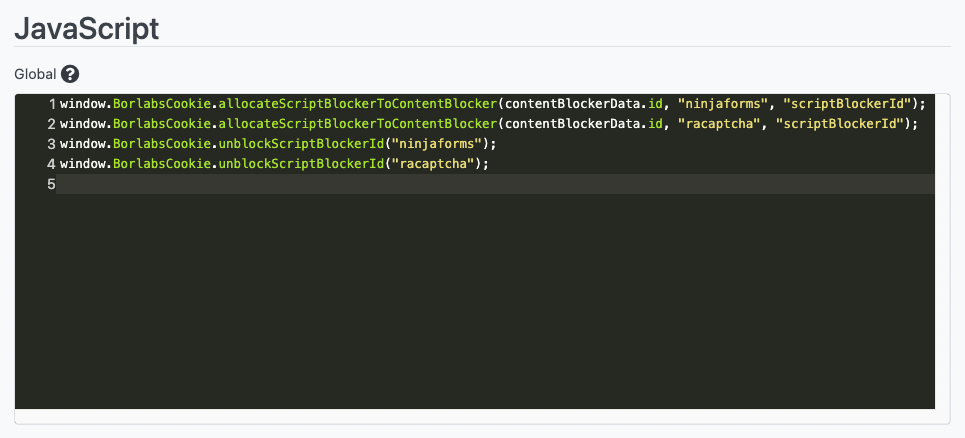
window.BorlabsCookie.allocateScriptBlockerToContentBlocker(contentBlockerData.id, "ninjaforms", "scriptBlockerId");
window.BorlabsCookie.allocateScriptBlockerToContentBlocker(contentBlockerData.id, "racaptcha", "scriptBlockerId");
window.BorlabsCookie.unblockScriptBlockerId("ninjaforms");
window.BorlabsCookie.unblockScriptBlockerId("racaptcha");
Step 2 - Create Content Blocker
Click the "Add new" button in the "Content Blocker" menu.

Configure Content Blocker
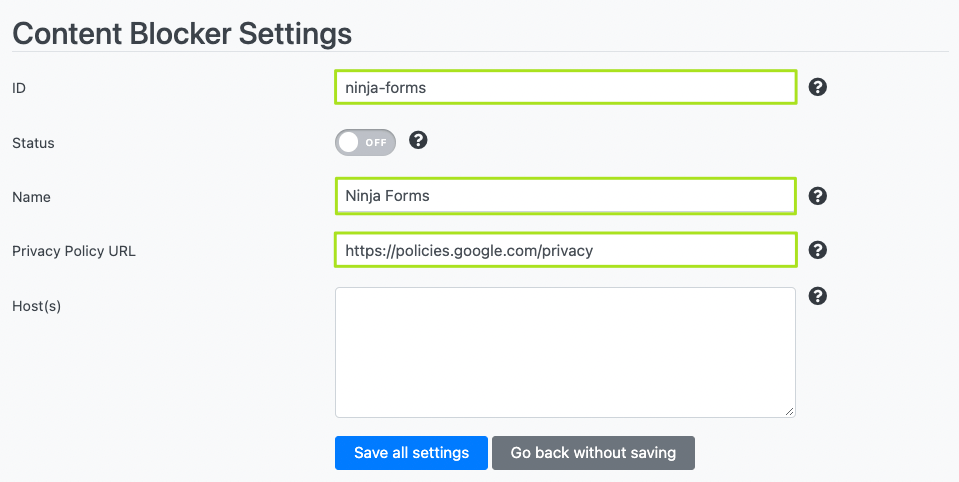
Now you have to configure the Content Blocker. Enter Ninja Forms as name, ninja-forms as ID and set the status to ON. Add the following URL as privacy policy: https://policies.google.com/privacy.
Now go to the JavaScript section and paste into the Global field the Content Blocker code you previously copied to the clipboard in Script Blocker.
Set the status to ON and click the "Save all settings" button.
Step 3 - Extend Ninja Forms with shortcode
Now go to the page where you included Ninja Forms and add around the Ninja Forms shortcode, the shortcode from Content Blocker.


Subsequently, the form is blocked until the user consents.
