In this article, we will show you step-by-step how to create a new account for Google Analytics 4 and set it up in Borlabs Cookie.
| The most important questions in advance: What is Google's Consent Mode and do I need it at all? Google's so-called Consent Mode is an additional option for tracking visitors via Google Analytics. The Consent Mode API provides you with significantly more data. This option is recommended for advanced website operators who use additional tools such as Google Ads etc. More information about this: https://borlabs.io/kb/google-consent-mode-setup-in-borlabs-cookie/ How can you use the Google Tag Manager? Google Tag Manager is not directly related to Google Analytics, but these tools are often used in combination. You can read how to set up the Google Tag Manager in Borlabs Cookie here: https://borlabs.io/kb/google-tag-manager/ Can you switch from Google Analytics Universal to GA 4? If you are currently still using Google Analytics Universal and want to upgrade to Google Analytics 4, you can easily upgrade your account. |
Create Google Analytics 4 account
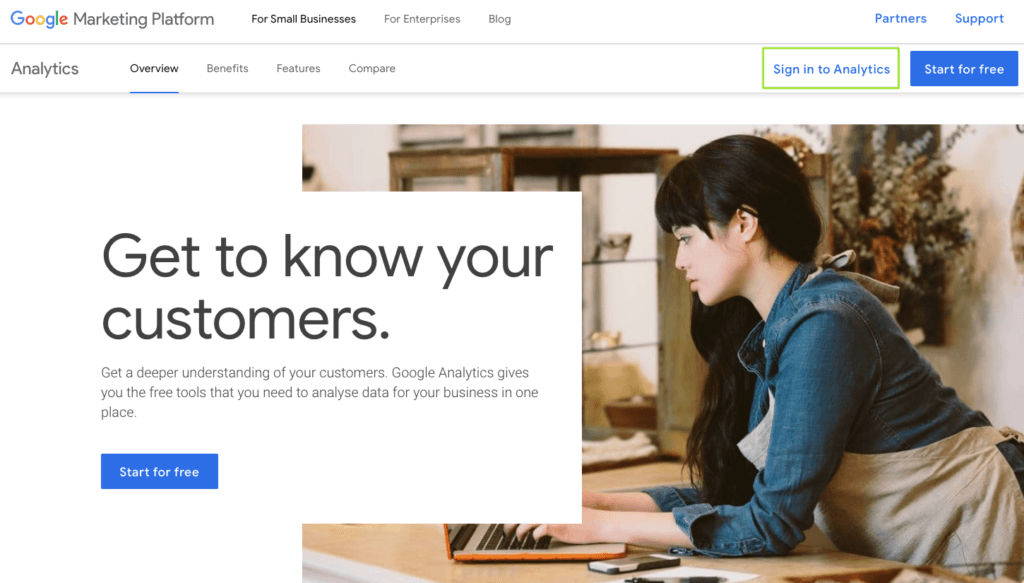
To sign in to Google Analytics 4, start by going to the following page: https://marketingplatform.google.com/about/analytics/ and click on "Sign in to Analytics".
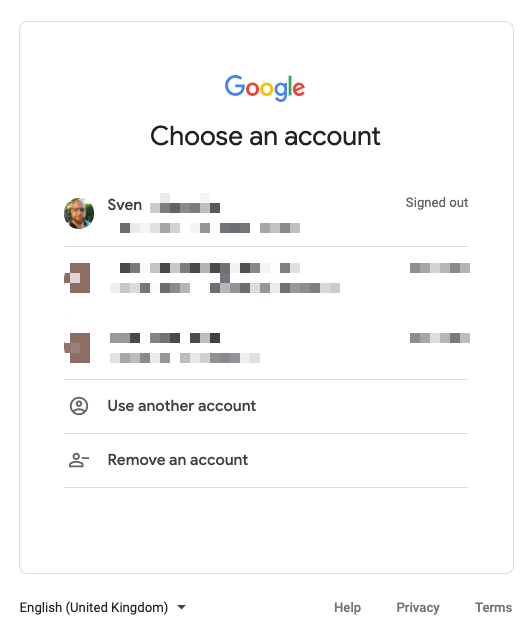
Next, select a Google account with which you want to register for Google Analytics 4.
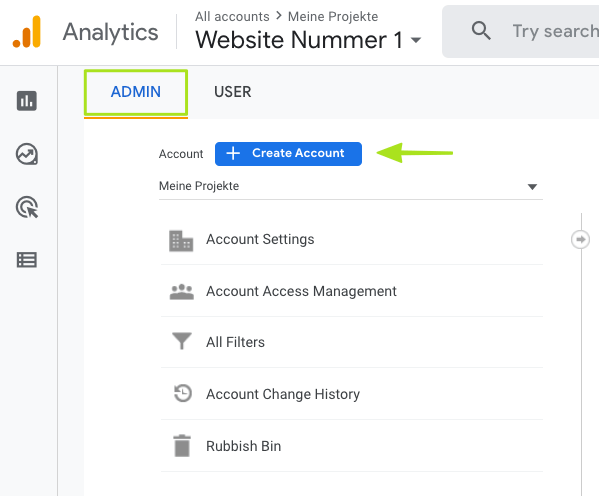
After you have successfully logged in to the Google Analytics platform, you will need to create a new account or property via Administration.
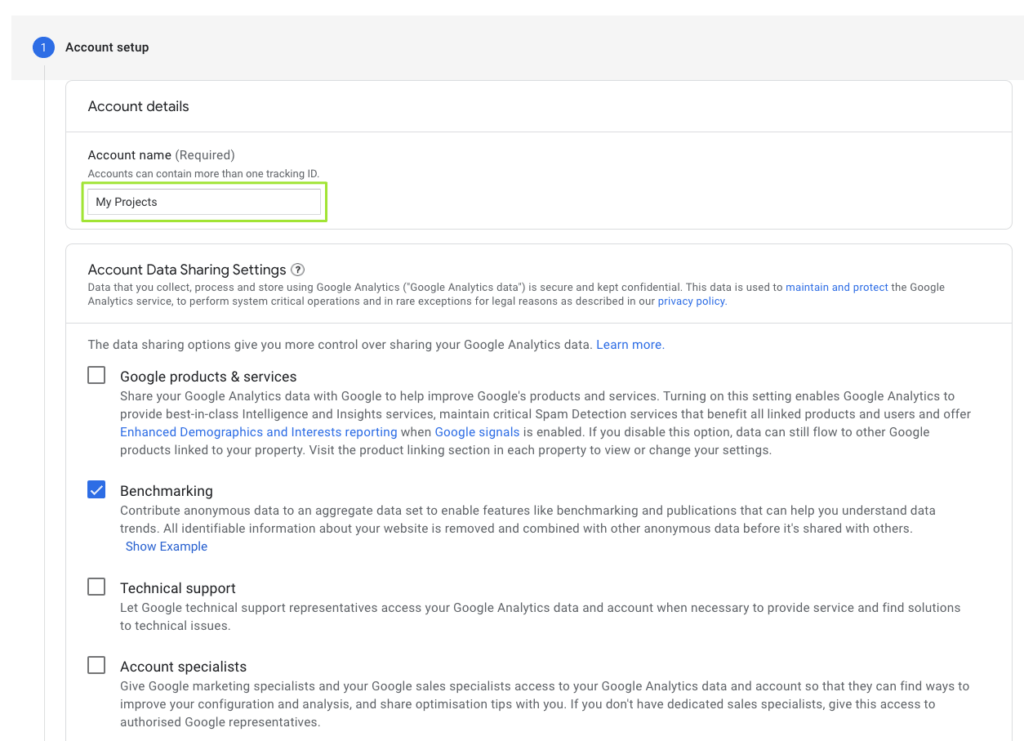
In the next step you have to assign an account name for your property/property. Basically, it is also sufficient to activate the "Benchmarking".
Then click on the "Next" button.
In the next step, you need to assign a property name and select the appropriate data such as time zone and currency.
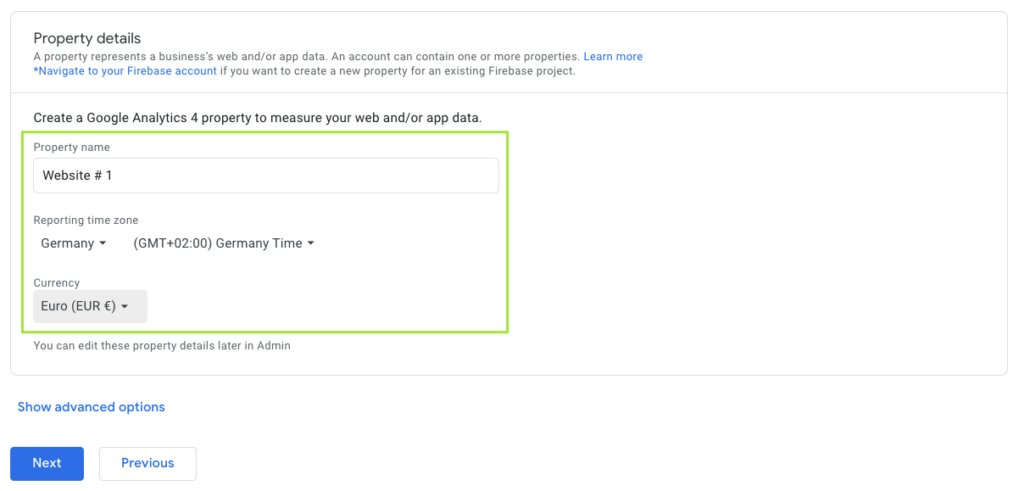
Then click on the "Next" button.
Now Google Analytics wants some information from you, which according to Google should help to improve the tool. Google wants to know in which industry you are active, how big your company is, and also what you want to use Analytics for.
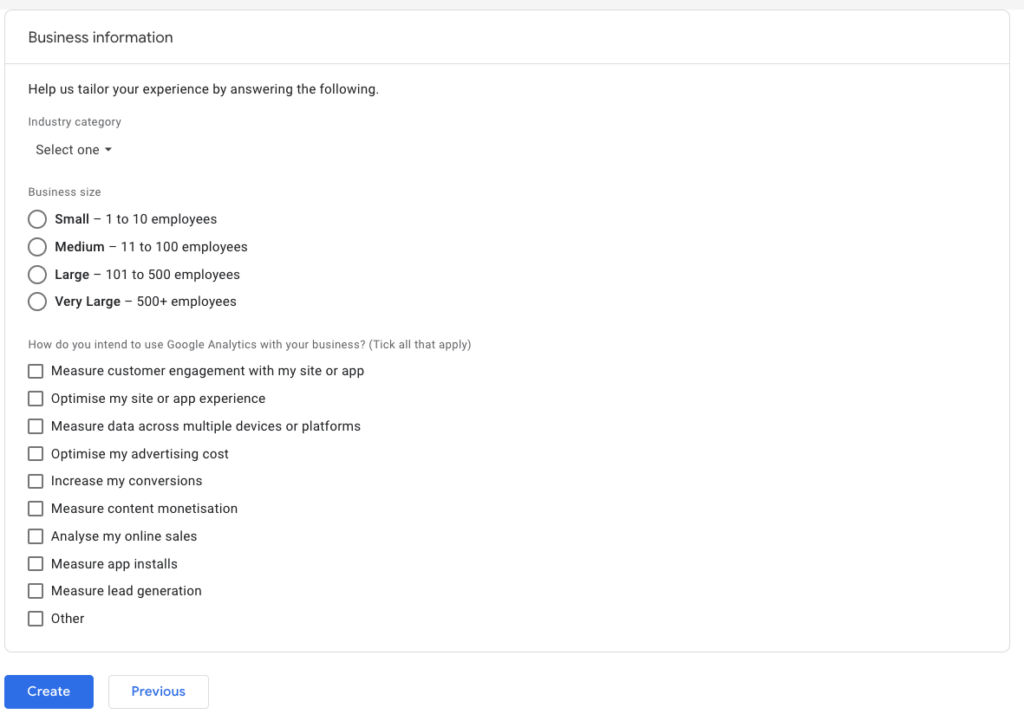
As soon as you click on the "Create" button, you must agree to the Google Analytics terms of use.
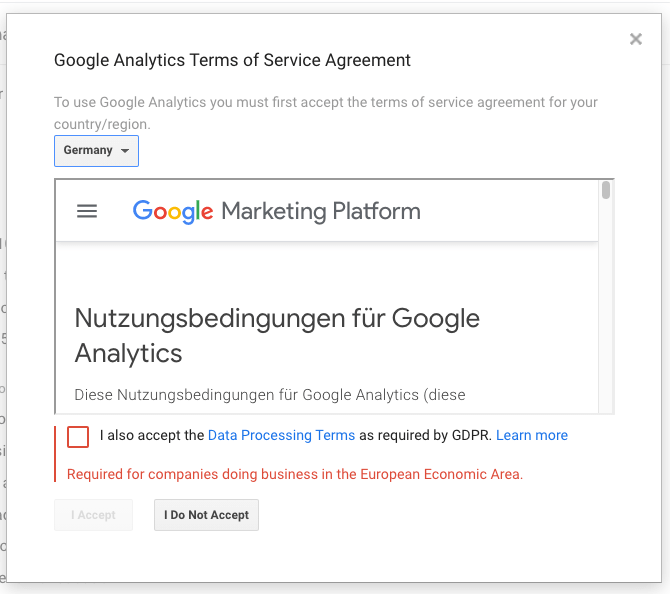
Your Property
Info: You can manage a number of "properties" via your account. This means that if you want to manage multiple URLs with Google Analytics from the account you created in the beginning, you could simply create another property.
So now that you have successfully created your property for your website, Google Analytics will directly show you the "Data Streams" option.

The "Web" platform is important for you. You can neglect the points "Android app" and "iOS app".
Now click on "Web" to be able to set up your data stream. Here you have to enter your URL and give the data stream a name.
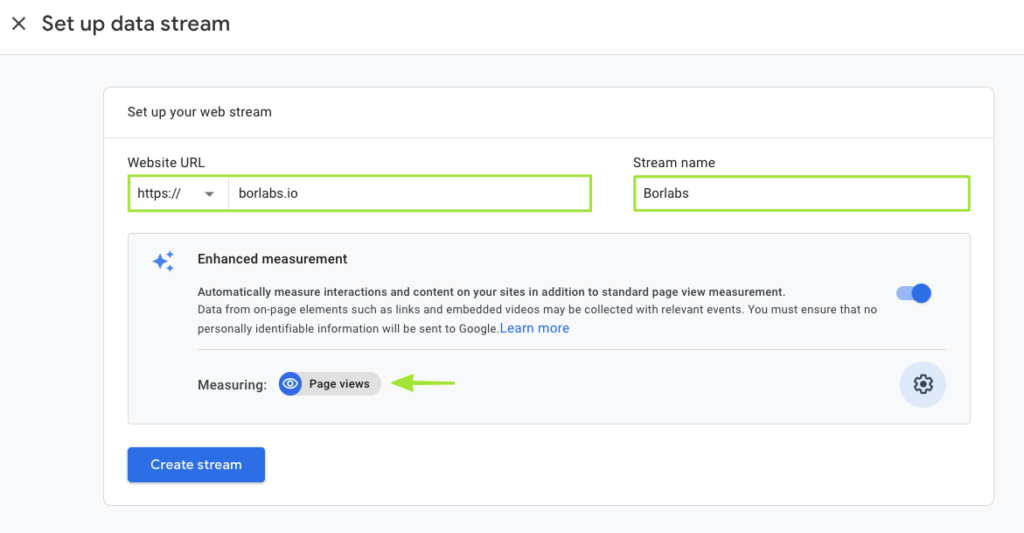
Under "Measuring", we have only selected "Page views" for the time being, as this is the measured value that is completely sufficient for the vast majority of users.
However, you can select further measured values via the "Settings wheel". Of course, you can also change or adjust these at any time afterward.
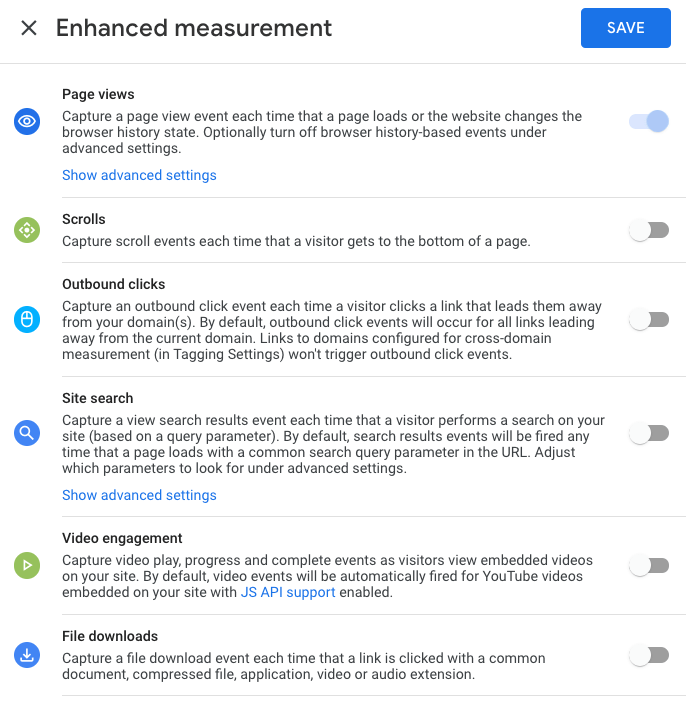
To finish the settings within the data stream click the "Create Stream" button.
Measurement ID
In the following view, you will now find the so-called measurement ID (G-XXXXXXXXXX). You can copy this directly here because you need it immediately within Borlabs Cookie.
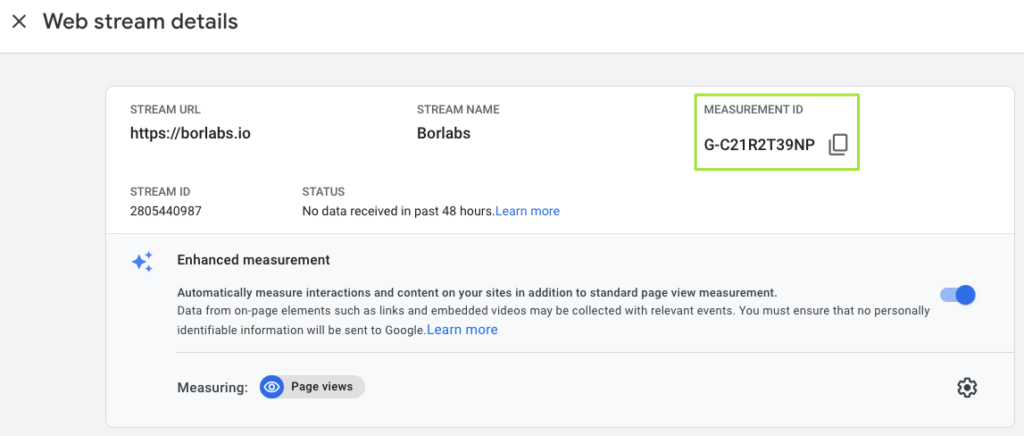
After you have copied your measurement ID, call Borlabs Cookie in the WordPress backend.
Google Analytics 4 in Borlabs Cookie
In Borlabs Cookie you now have to create a cookie for Google Analytics. Click on the menu item "Cookie".

Scroll down to the "Statistics" cookie group and click the "Add new" button here.

Select "Google Analytics" as the service.
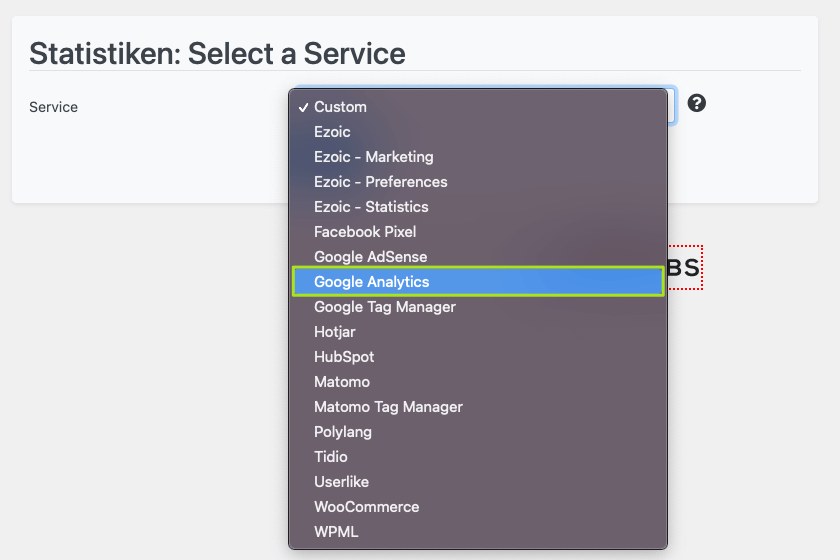
Then click on the "Next" button.

Set Up Cookie Template
Borlabs Cookie has already created a template for Google Analytics. This means you don't have to do anything more than enter your measurement ID in the "Tracking ID" field.

Click on the "Save all settings" button to save the measurement ID.
Consent Mode
Since version 2.2.36 you can also find the "Use Consent Mode" slider in our cookie template.
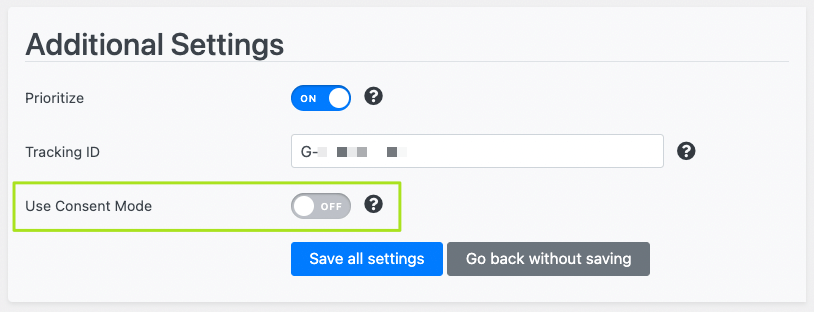
If you activate this, the Google Analytics code is loaded via the fallback code. This means that Google Analytics is already fired when your website is called up.
Important: It is important to note that the "Consent Mode" is still in beta and therefore information still changes quite frequently and some topics are not yet fully clarified. Therefore, keep in mind that there are risks involved.
If you want to learn more about Consent Mode, please read the documentation article about setting up Google Consent Mode in Borlabs Cookie.
Important note about cookie lifetime:
Please check here in Google Analytics under Data Settings > User and event data Retention > Event data retention which retention period is selected.
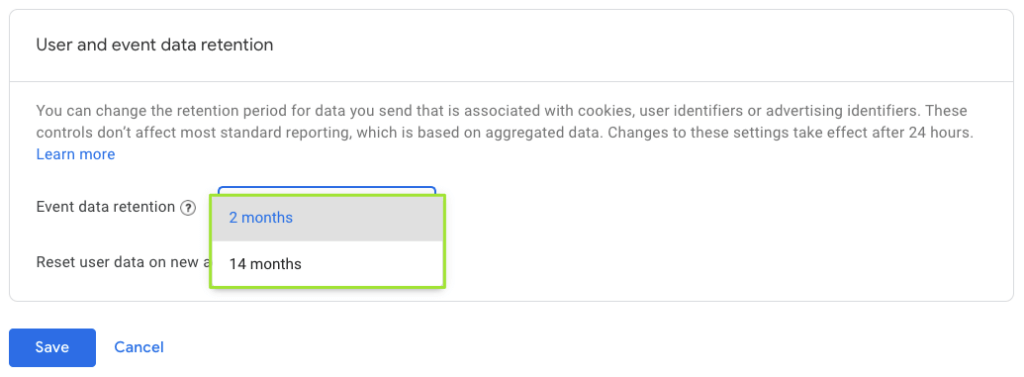
This should match the information in Borlabs Cookie (option: Cookie duration). If you select e.g. 14 months in Google Analytics, you simply have to change this in the Cookie settings under "Cookie duration".
If you have added your measurement ID and, if necessary, the cookie runtime in the cookie settings and saved all settings, you have successfully set up Google Analytics.