In this docu-article we will show you step-by-step how to create a new Google Ads account and set it up in Borlabs Cookie.
| The most important questions in advance: What is Google's Consent Mode and do I need it at all? Google's so-called Consent Mode is an additional way to track visitors via Google AdSense. The Consent Mode API provides you with significantly more data. This option is recommended for advanced website operators who use other tools such as Google Analytics, etc. More information about this: https://borlabs.io/kb/google-consent-mode-setup-in-borlabs-cookie/ How can you use the Google Tag Manager? Google Tag Manager is not directly related to Google Ads, but these tools are often used in combination. How to set up the Google Tag Manager in Borlabs Cookie, you can read here: https://borlabs.io/kb/google-tag-manager/ What is the difference between Google Ads and Google AdSense? Google Ads is intended exclusively for advertisers who want to place advertisements themselves via Google. Google AdSense, on the other hand, is aimed at publishers who want to embed Google advertising on their website, for example, and earn money via pay-per-click. |
Create Google Ads Konto
To sign up for Google Ads, start by visiting the following page: https://ads.google.com/intl/de_de/home/ and click on "Register" in the upper right corner.
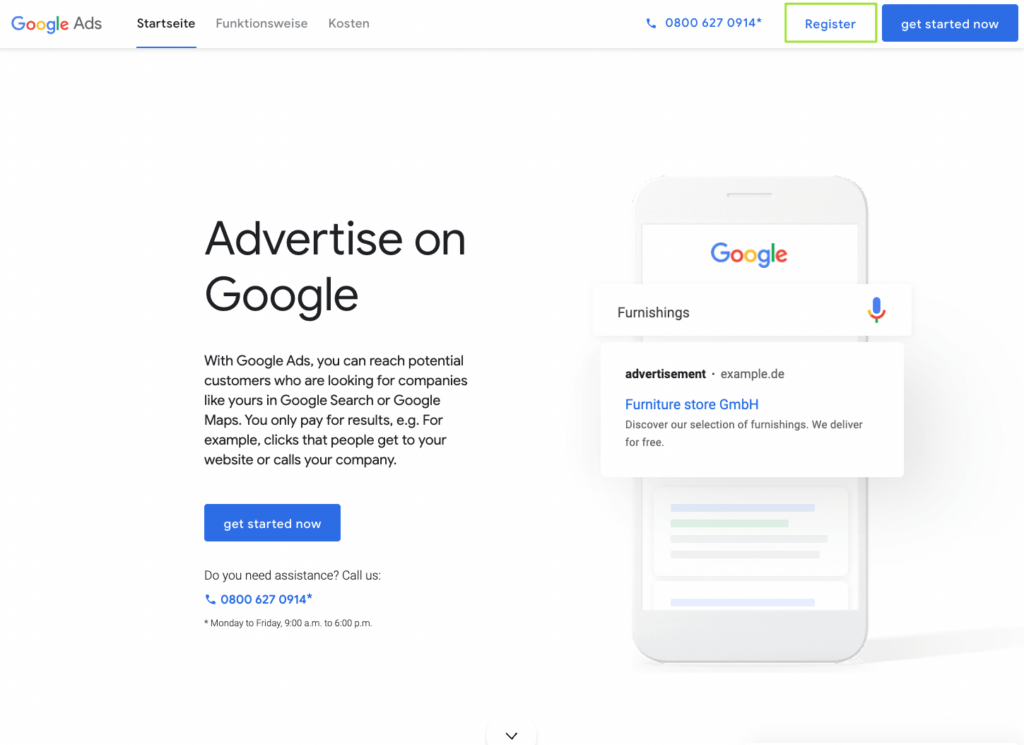
Afterwards, you have the option to create a new Google Ads account (if you are not currently logged in with a Google account) or to change your Google account if necessary. If you already have a Google Ads account, you can also choose from the accounts you have already created.
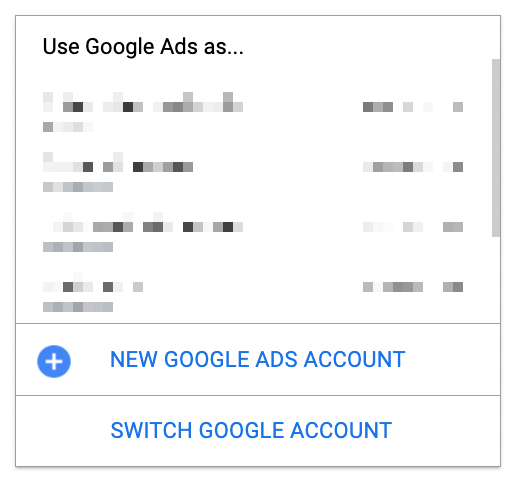
After you have successfully signed up for Google Ads, you will need your website tag / conversion ID to track conversions directly through Borlabs Cookie.
You can find this within Google Ads under "Tools and Settings" → "Conversions".

To get the website tag / your conversion ID, you must first create a new conversion action (e.g. for calling the “Thank You” page after purchase).
To do this, click on the "New conversion action" button in the following window.

After that, you need to select your desired conversion action. As a rule, it will always be "Capture actions on your website".
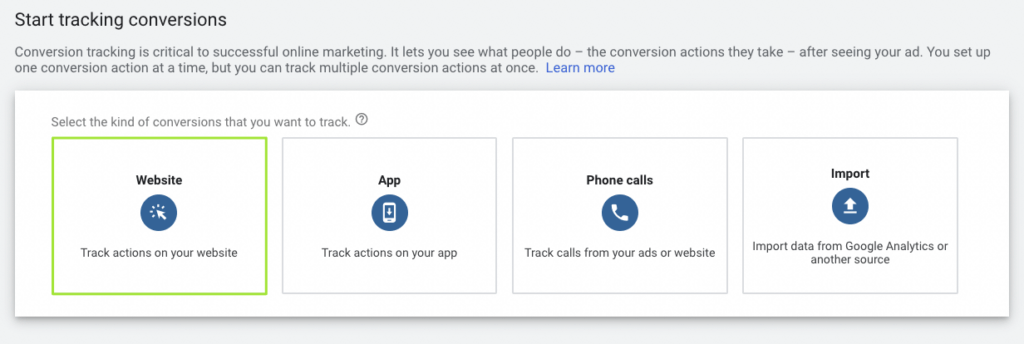
Once you have completed the conversion tracking setup in Google Ads, you will be taken to the "Tag Setup" section. Here you can choose how you want to integrate the tag or script into your website.

Since you only need the website tag/conversion ID for Borlabs, click on "Insert the tag yourself".
Below you can see the General / Global Website Tag. From this tag you only have to copy the ID (AW-XXXXXXXXX).
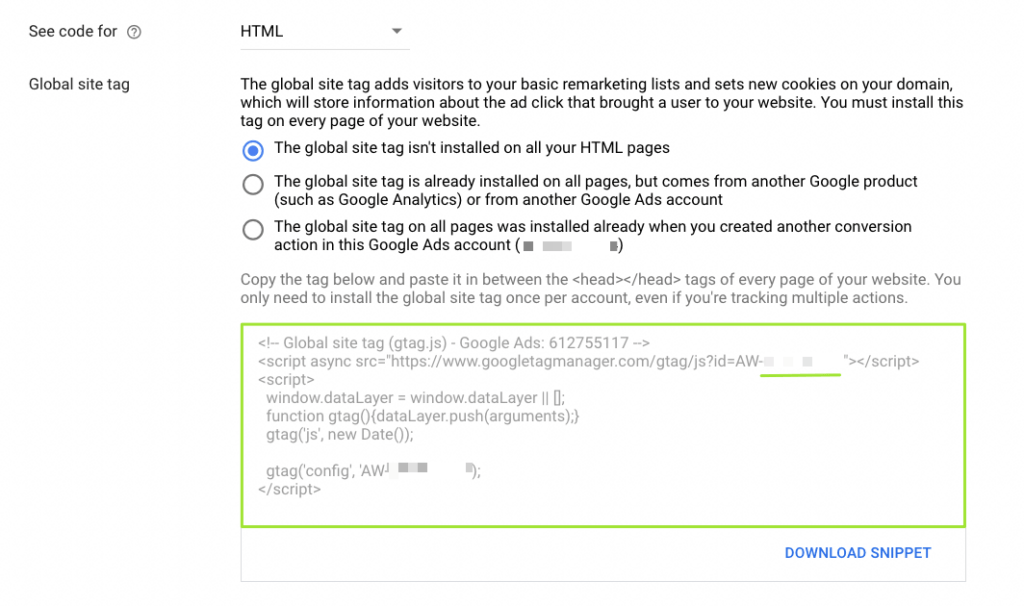
After you have deposited your ID AW-XXXXXXX in Borlabs (explained in the next section), you still need the event snippet for the “Thank You” page.
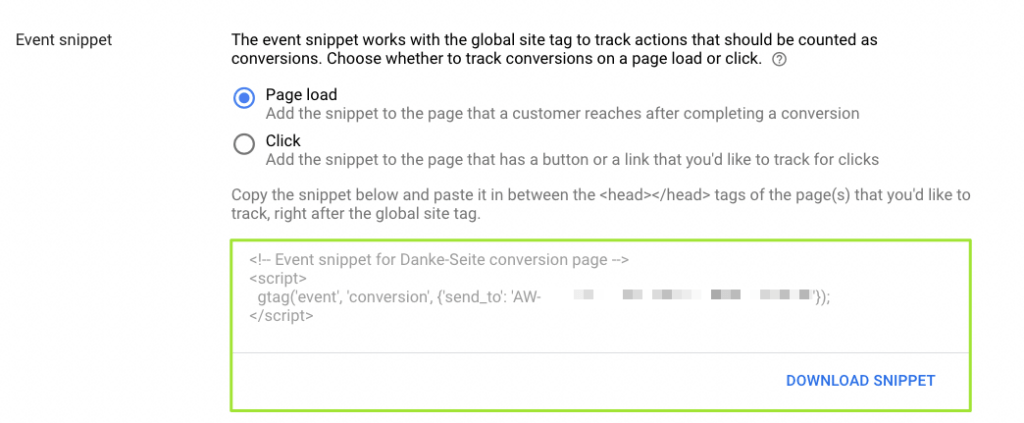
You need to copy this once completely and paste it on the “Thank You” page only. For event tracking, we have our own meta-boxes so that you can track conversions/events on individual pages. See the following documentation: https://borlabs.io/kb/meta-boxes-conversion-tracking-and-more/
Google Ads Cookie in Borlabs
To add the previously copied General / Global Website Tag (Conversion ID) to Borlab's cookie, go to the "Cookies" menu item in the WordPress backend and click on the "Add new" button in the "Marketing" group.

Under Service, select the "Google Ads" cookie template and click the "Next" button:
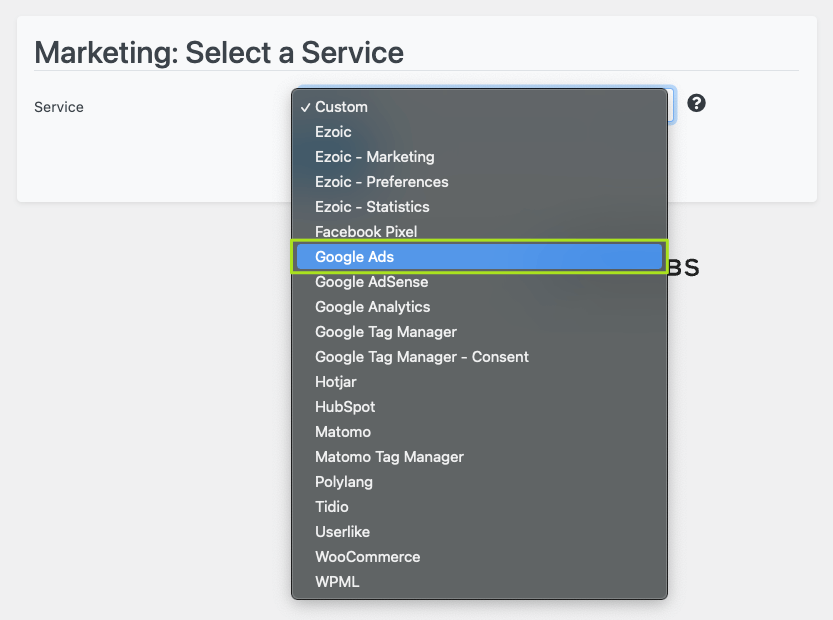
Google Ads Cookie Template
General / Global Website Tag
Once you have arrived at the Google Ads cookie template, you need to store the General / Global Website Tag under the "Additional Settings" item in the "Conversion ID" field.
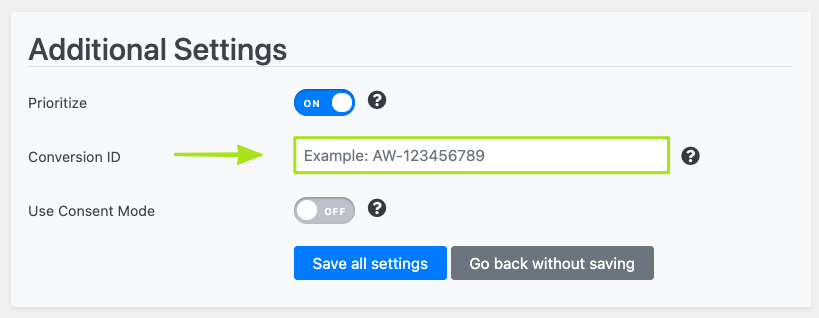
After that click the "Save all settings" button.
Consent Mode
Since version 2.2.36 you can also find the "Use Consent Mode" slider in our cookie template.
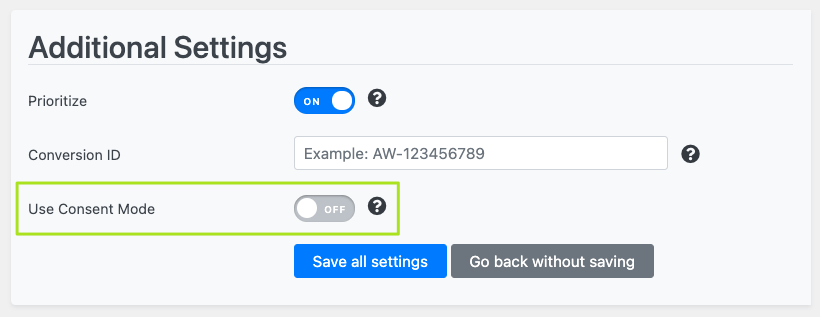
If you activate this, the website tag (conversion ID) is loaded via the fallback code. This means that Google Ads is already fired when your website is called.
If you want to learn more about the Consent Mode, please read our following documentation articles: https://borlabs.io/kb/google-consent-mode-setup-in-borlabs-cookie/