The following documentation will show you how to set up the Facebook Conversion API in conjunction with our cookie plugin on your WordPress site.
This requires Facebook's own "Meta Pixel for WordPress" plugin:
https://wordpress.org/plugins/official-facebook-pixel/.
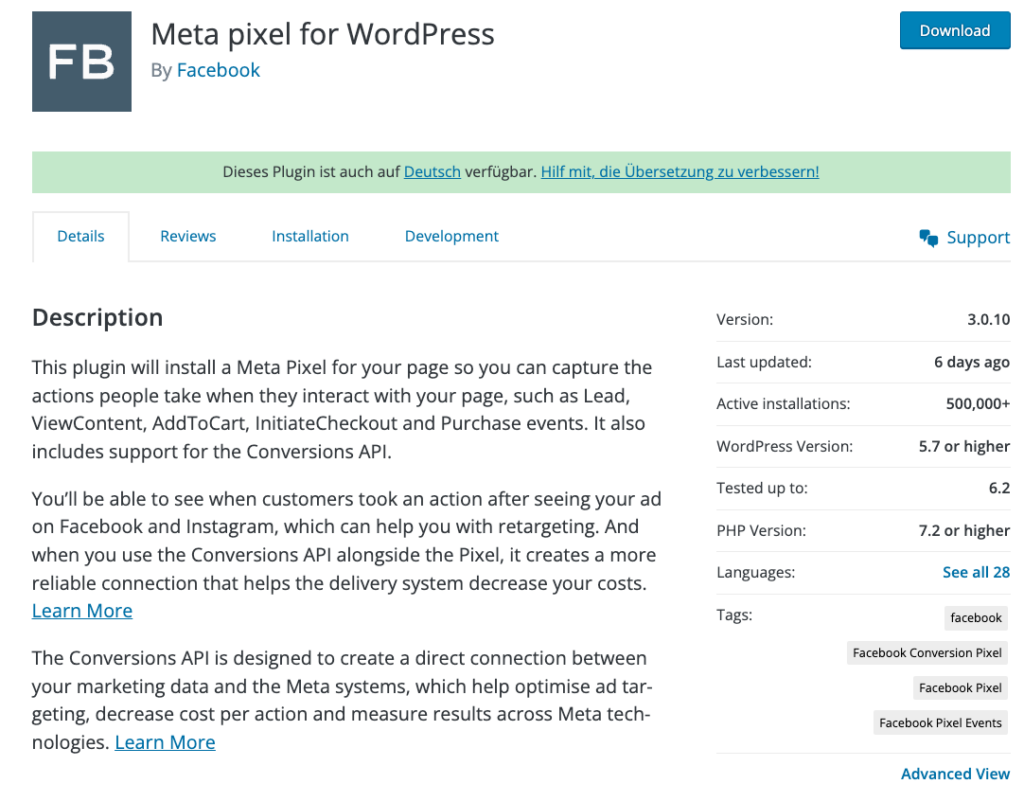
Please install and activate the plugin if you want to use the Conversion API!
The advantage of the plugin is that we can integrate the pixel and the Conversion API. If you have enabled the Conversion API for your pixel in your Facebook Business account, it will be automatically integrated through the plugin.
Step 1: Connect Meta Pixel for WordPress plugin to Facebook
After installing the Meta Pixel for WordPress plugin, click on "Settings" in the plugin overview or "Installed plugins".

You will now be redirected to the Meta Pixel plugin settings.
Click the "Get Started" button here.
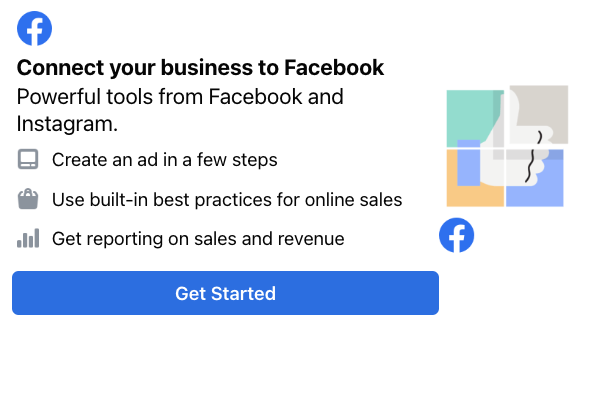
A new window will open asking you which Facebook profile you want to link to.
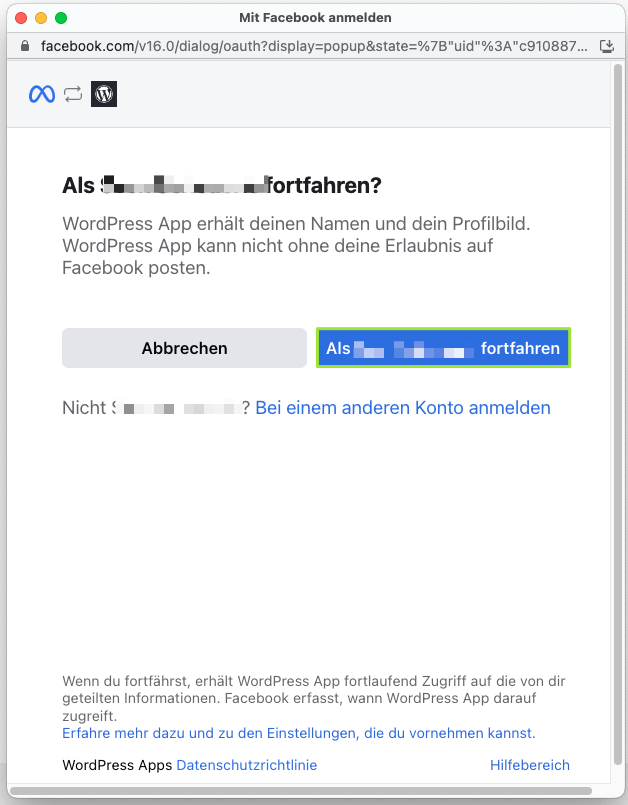
Select the appropriate profile and click "Next".
In the following window, you need to confirm that you want to link the WordPress app with Facebook.
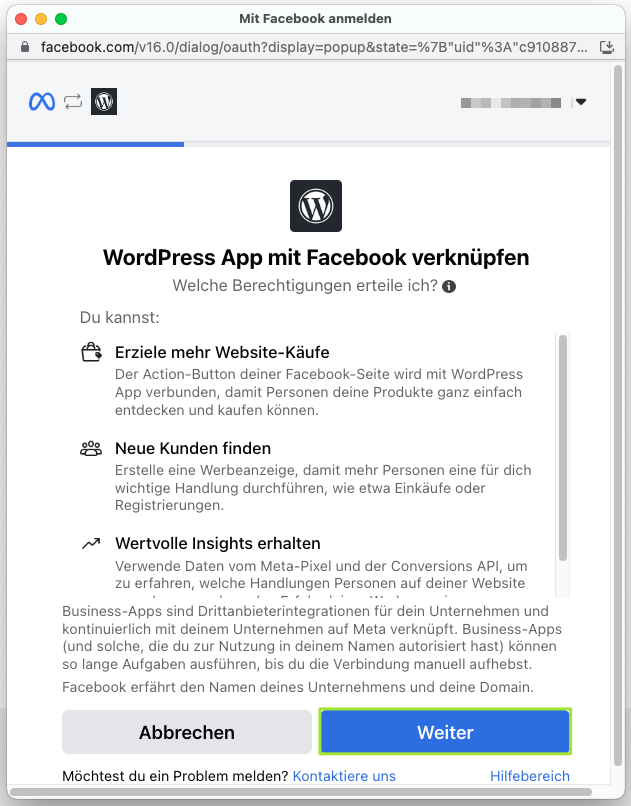
Click on the "Next" button here.
It also tells you what the WordPress application is allowed to do.
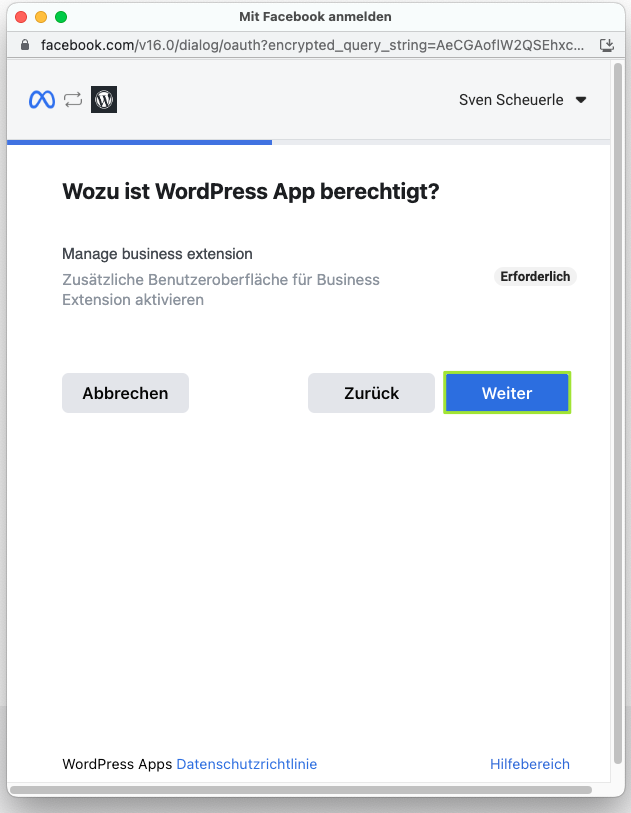
You will also need to confirm this by clicking the "Next" button.
Last but not least, you need to select the corresponding profiles (Facebook, Instagram, Advertising accounts, Meta Pixel) that you want to link with the Meta WordPress app.
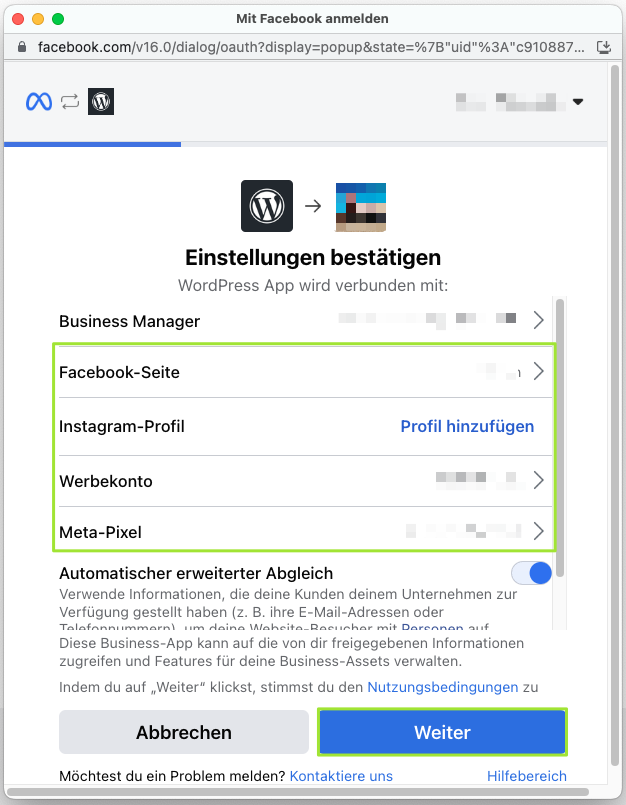
Then click on the "Next" button.
This completes the settings for the Meta Pixel plugin!
Step 2: Configure Script Blocker
In the second step, you need to block the scripts of the Meta Pixel plugin using our Script Blocker, so that the pixel is not fired without your permission.
Setup Script Blocker
Click the "Add New" button in the "Script Blocker" menu.

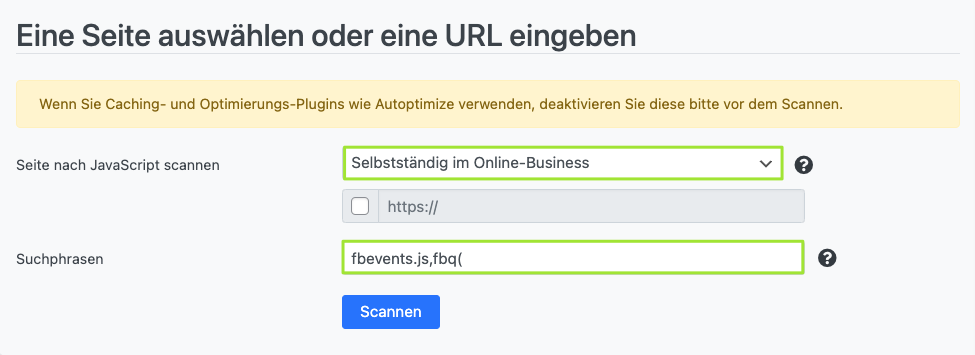
In the next step, select the page where the pixel and the conversion API will be loaded.
Since the scripts are usually loaded globally, you can simply select your home page.
Also add the following search phrases in the "Search phrases" field: fbevents.js,fbq( and click "Scan" afterwards.
Configure Script Blocker
After the successful scan, you have to configure the Script Blocker. To do this, create a new script blocker under:
ID: facebook-pixel
Name: Facebook Pixel (Meta)

If you scroll down a bit, you should be able to see the following scripts:
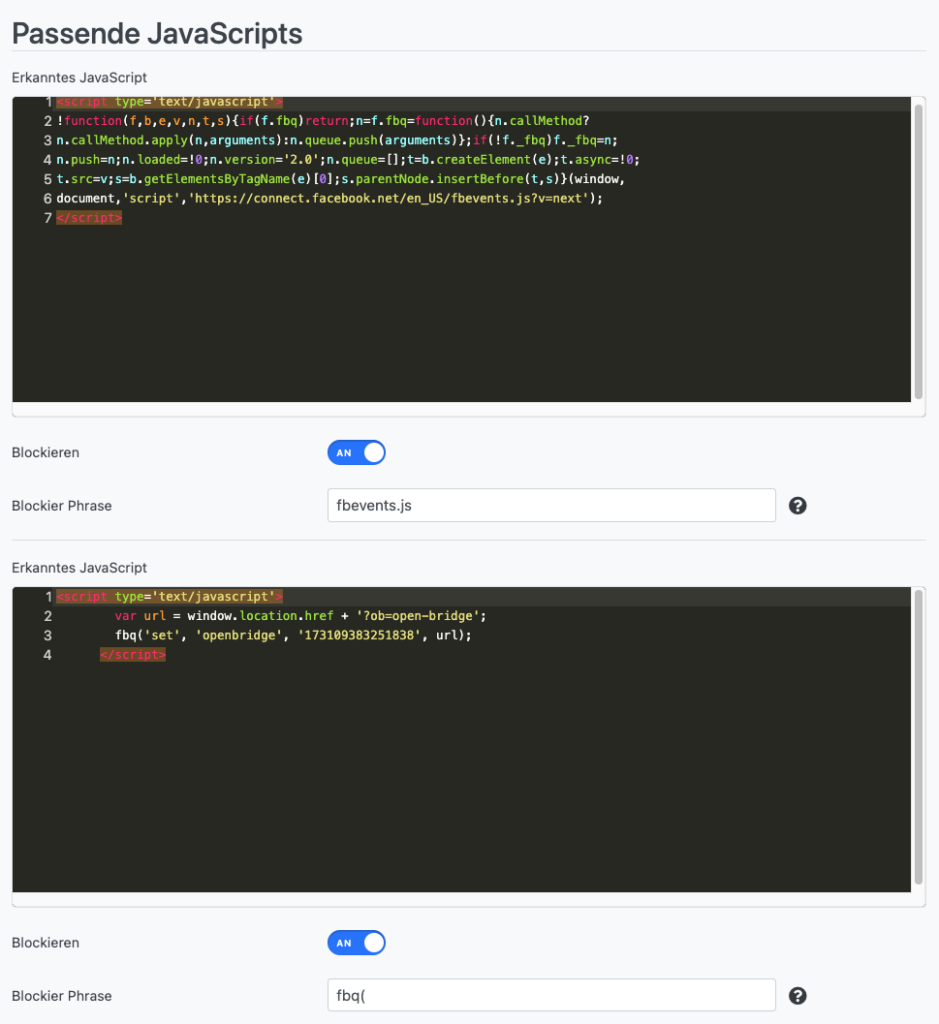
Then click on the "Create Script Blocker" button.
Script Blocker Settings
If the Script Blocker was created, the status should be "ON". Also, under the "Blocked Phrases" item, you will once again see the search phrases that you searched for during the scan process and have now been blocked.
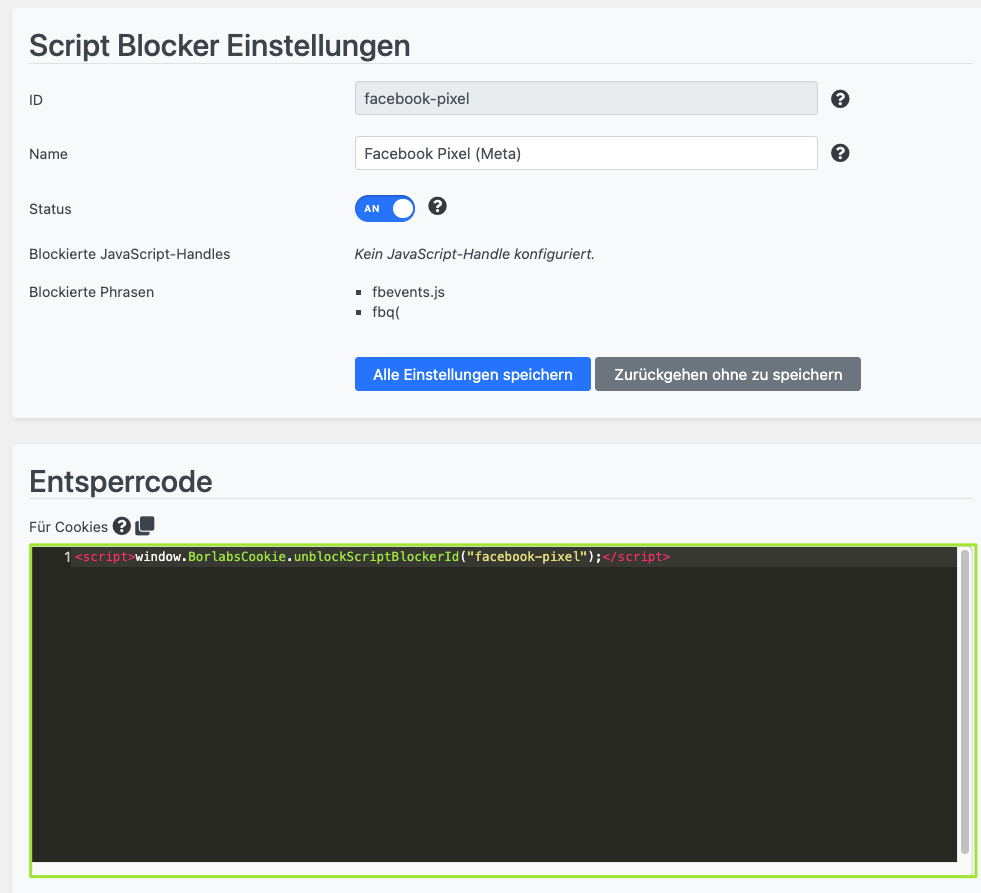
In addition, you will now find an unblock code (for cookies). Please copy this code once.
Step 3: Create Facebook Pixel Cookie
To do this, click on the "Add new" button in the "Cookie" menu item in the "Marketing" cookie group.

Wähle unter Service “Facebook Pixel” aus.
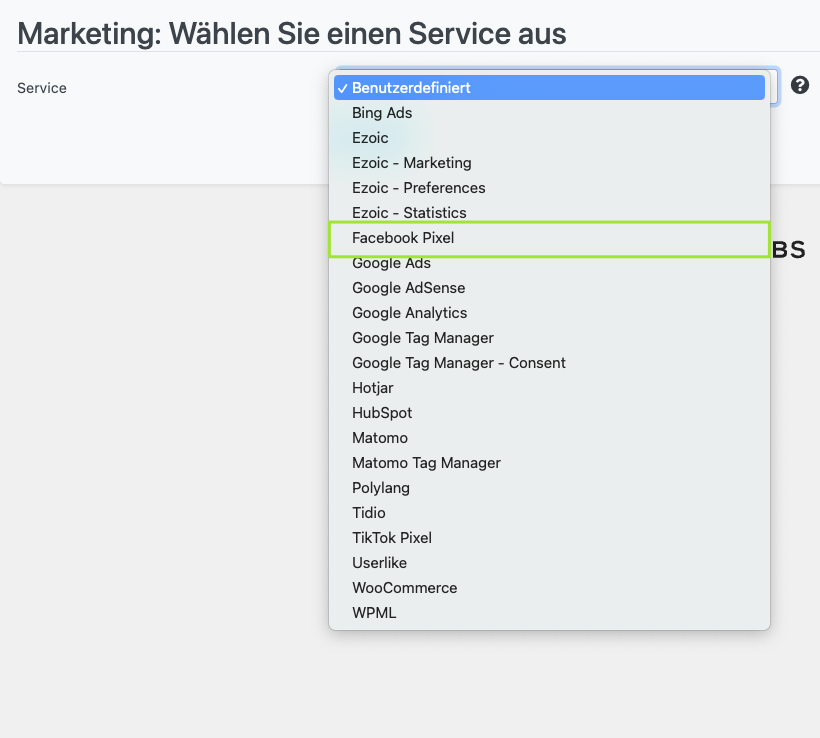
Configure Facebook Pixel Cookie
Add any text under the item "Additional settings → Pixel ID". For example, "notrelevant".
If you have already created the Facebook Pixel cookie with an ID, delete it accordingly and replace it with the text.

Now scroll to "HTML & JavaScript" and delete the existing opt-in code from the field.
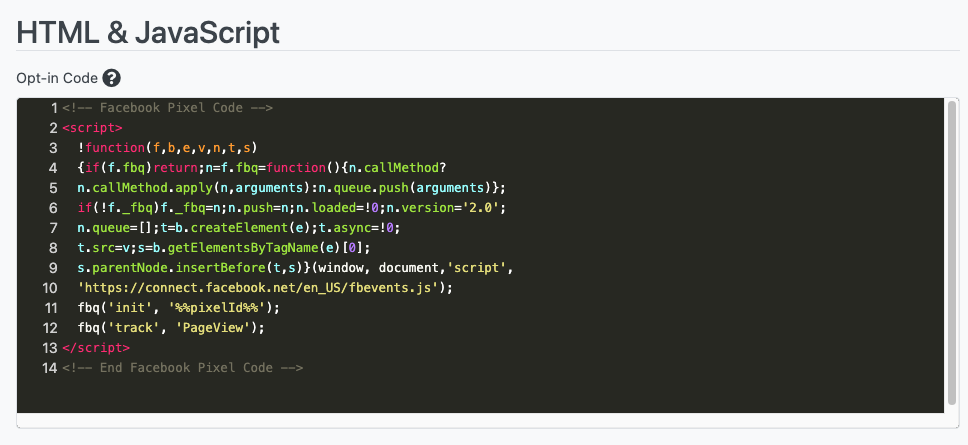
Then paste the unlock code into the field you received and copied when you created the Script Blocker (see Script Blocker Settings).
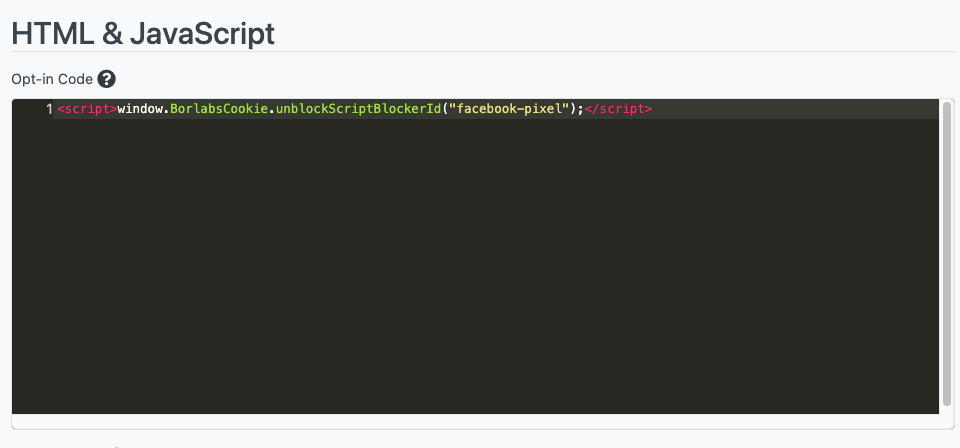
To save all the settings, click the "Save all settings" button.