Facebook for WooCommerce is the official WordPress plugin from Facebook that connects your WooCommerce website to Facebook. With this plugin you can install the Facebook Pixel, upload your online shop catalogue and create a shop on your Facebook page, which allows you to easily display dynamic ads. In this article, we show you how you can use Borlabs Script Blocker to block the cookie and get permission to use the plugin on your website in accordance with the GDPR. Let's get started.
Step 1: Add Script Blocker
From the Borlabs Cookie menu, click Script Blocker, then click Add New.

DEFINE PAGE AND SEARCH PHRASE
Next, you need to select a page to scan for JavaScript. Since Facebook for WooCommerce is active on all pages, you can select any page here. In this case we have chosen our home page.
To make work easier, enter the words connect.facebook.net and wc-facebook-pixel-event in the Search phrases field and separate both words with a comma.
Facebook for WooCommerce integrates the JavaScript for Facebook Pixel via inline JavaScript. In the inline JavaScript, the words connect.facebook.net and wc-facebook-pixel-event appear, which do not appear anywhere else. This allows us to identify the inline JavaScript cleanly. How do we know that? Before this article, we used the developer tools in the browser to determine where the fbevents.js is loaded from Facebook. This is how we found the inline JavaScript.
Scan
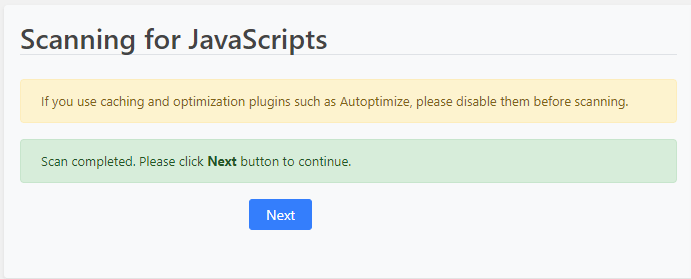
Once you've entered everything, click on Scan. Borlabs Cookie will now scan your website for JavaScript and highlight the JavaScript in which the search phrase was found. When Borlabs Cookie has finished scanning, you will receive a message as shown in the image below and must click Next.

Configure
After your page has been scanned and you have clicked Next, you must set an ID and Name for your Script Blocker.
For ID enter facebook and as name Facebook. You can set the Status to ON right away.
Select JavaScript to Block
Scroll down a little to Matching JavaScript. Depending on the configuration of the Facebook for WooCommerce plugin you should get 2 to 3 detected JavaScript listed.
Click on Create Script Blocker to create the Script Blocker.
Scroll down a little to Unblock Code. The Script Blocker from Borlabs Cookie gives you two different unlock codes, one for cookies and one for content blocker, which allows you to unblock the blocked JavaScript. Click on the clipboard icon to copy the JavaScript from For Cookies.
Step 2: Create Cookie
It's nearly done. Click on Cookies in Borlabs Cookie and then on Add New in the Cookie Group Marketing.
In Services, you now select Facebook Pixel and click Next.
Borlabs Cookie fills in all necessary data. Scroll down to Additional Settings and enter something in the Pixel ID field. This field is mandatory, but we don't need it.
Under Opt-in Code, insert the code (remove the existing code first) that you have just copied from the For Cookies field in the Script Blocker.
<script>window.BorlabsCookie.unblockScriptBlockerId("facebook");</script>In the field Fallback Code insert the following code:
<div class="wc-facebook-pixel-event-placeholder"></div>Click on Save all settings. Done.
Facebook Pixel is now initially blocked and only if the visitor agrees to the Cookie for Facebook, Facebook Pixel is unblocked and tracking takes place.